Add Feature Flags to a React App (for FREE)
If you want to ship quickly and be confident that customers actually want the new features you’re building, feature flags are a must-have in your dev toolbox.
In this tutorial, we’ll look at how we can use feature flags to safely and quickly ship new ideas to a small number of users, allowing you to gather real data on how people use it. We’ll do this by adding a feature in a React app using DevCycle for feature flags. And we’ll build it all in minutes using just a few lines of code.
- Demo: https://feature-flag-devcycle.netlify.app/
- Repo: https://github.com/learnwithjason/feature-flag-devcycle
Why you should consider feature flags
There’s a constant tension between “shipping quickly” and “making sure we only ship things people want” — it undermines our confidence, slows us down, and leads to pretty frustrating meetings.
Feature flags are a programming pattern where we put functionality inside a conditional check, and only show it if the feature flag is set to the correct value.
Used well, feature flags allow us to deploy to production with lower risk.
By lowering the risk, you can ship faster.
By shipping faster, you get real data and feedback.
By getting real data and feedback, you validate that what you’re building is the right thing.
By validating your idea, you’re far less likely to waste time building and shipping things that no one wants.
Feature flags get you out of hypotheticals and into reality faster.
To get a feel for how to add feature flags into an existing app, let’s ship a new feature behind a feature flag in a React app.
Source code: https://github.com/learnwithjason/feature-flag-devcycle Demo: https://feature-flag-devcycle.netlify.app/dashboard/
Set up your dev environment
To start, clone the start branch of the repo, fork it, and install dependencies:
# clone the repo (this uses the GitHub CLI)gh repo clone learnwithjason/feature-flag-devcycle -- -b start
# move into the projectcd feature-flag-devcycle/
# fork the repogh repo fork
# install dependenciesnpm i
# start the dev servernpm run devOpen http://localhost:5173 in your browser to see the app we’re going to build.

Create a DevCycle account and project
We’ll be using DevCycle to power the feature flags in our app. The free tier will be more than enough to handle our needs.
Head to the DevCycle home page and click the “create account” button, then sign up. I used my GitHub account, but you can use whatever you prefer.
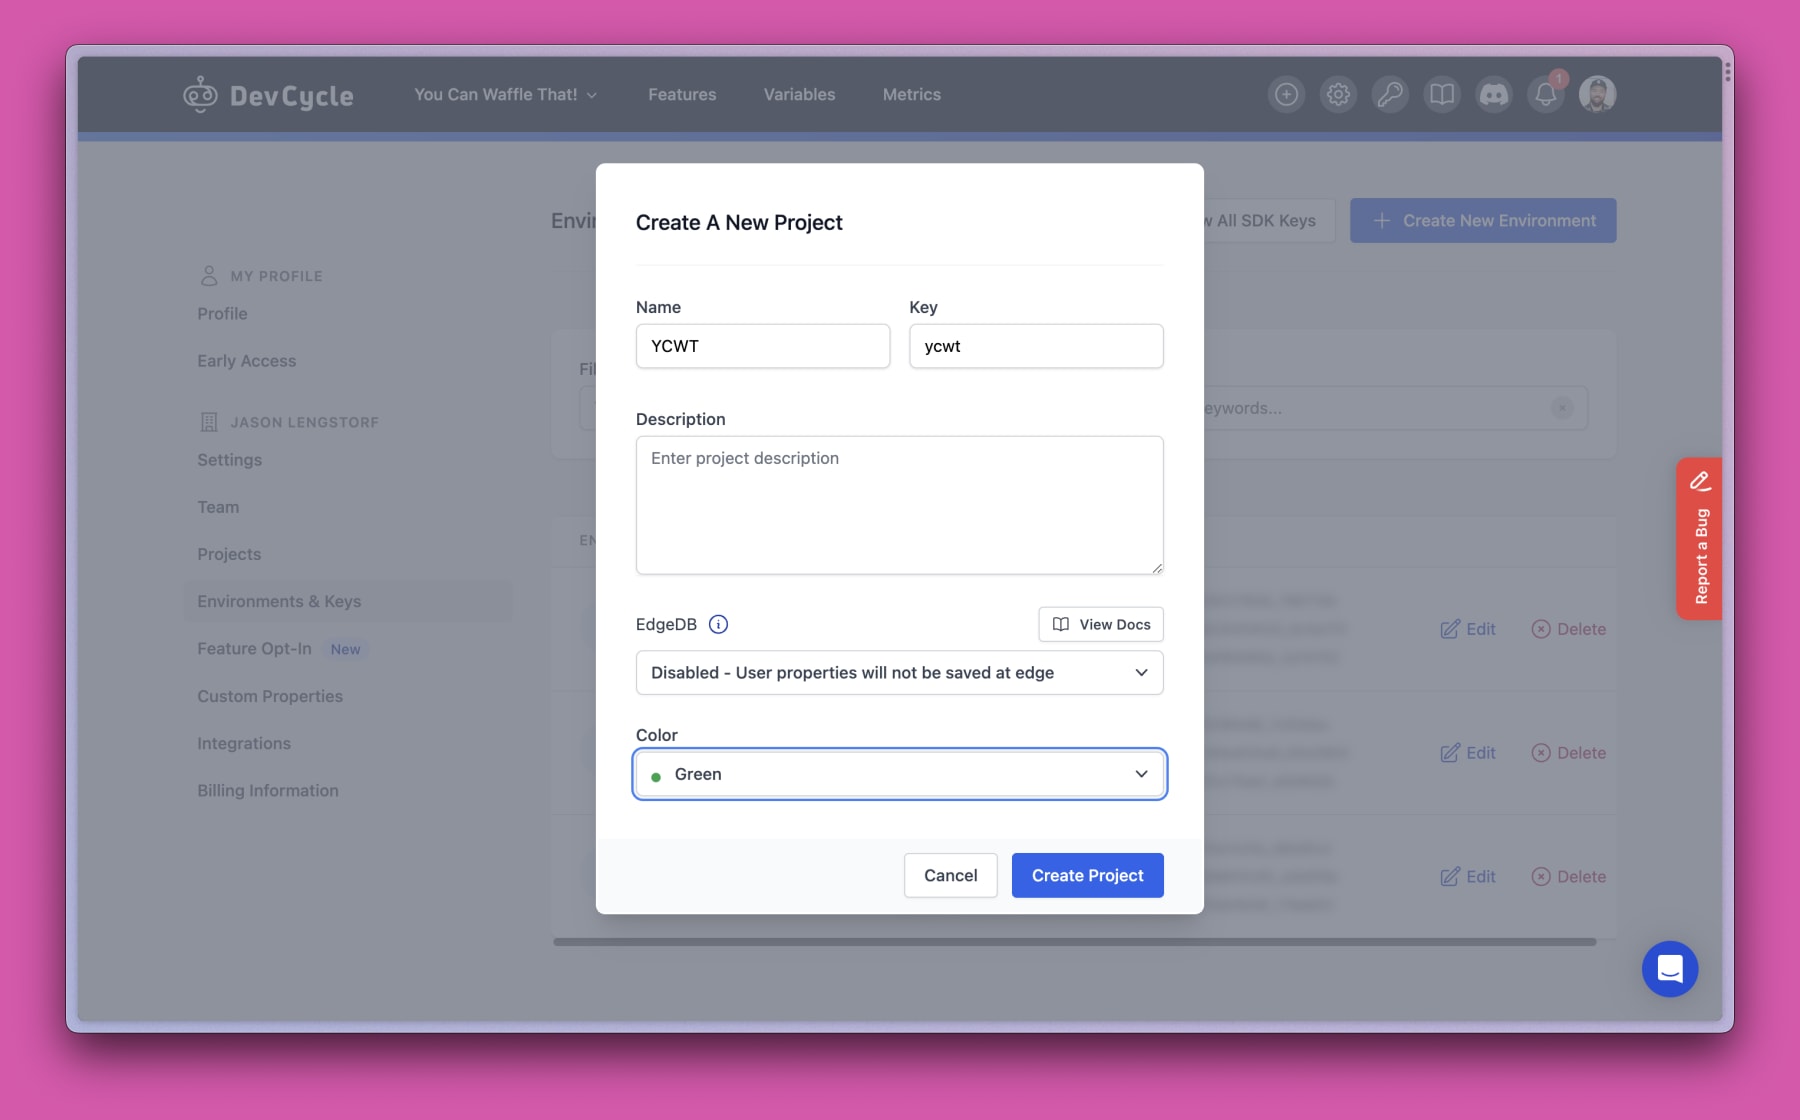
Next, create a new project. You can name this whatever you like — it’s only used internally and won’t be visible to anyone outside your team.
On the next screen, you’ll see your SDK keys for different environments. Copy the client key from the Development environment and put it into the .env file in the app as the value of VITE_DEVCYCLE_CLIENT_KEY.

Vite will detect that the .env file has changed and restart automatically, which is pretty dang cool.
Create a feature flag in DevCycle
In the DevCycle dashboard, go to the Features tab and click “Create New Feature”. This opens up a modal that asks what type of feature you want to add.
We want to do a limited release of a new feature, so select “Release”.

On the next screen, name the feature “Waff-fulfillment”. The key and variable fields will autocomplete. Adding a description is optional, but will be helpful for remembering what the flag is for.

On the next screen, note that the variable key is a boolean value where true maps to “Variation On” and false maps to “Variation Off”. Each user on our site can have their own value for the feature flag, which is how we control who sees the new feature or not.
To decide who will see the new feature, scroll down to the “Users & Targeting” section and find the settings for development.
By default, the feature flag will turn the new feature on for all users. We have options to change which users we target, which we’ll look at a bit later. We also have options on how to serve the variations of our feature, which is what we want to look at now.

Open the “Serve” dropdown and choose “Random Distribution”. This updates the UI to show percentages for both the “on” and “off” variations. By default they’re set to 50/50, but we can choose any combination we want.
For this app, 50/50 makes sense, but if you’re working on a more established app it might make sense to only show 5% (or even 1%) of users the new feature at first to gather data and feedback before rolling out more widely.

Click save to update the settings.
Add the DevCycle provider and identify the current user
With the SDK key in our environment and a feature flag set up in DevCycle, we’re ready to write some code!
Because we’re working in React, accessing the feature flag data is made possible by wrapping our app in a provider. DevCycle will let us pass in the current user as an argument to the provider, which means the feature flags will be tied to a user account. This is useful because it means the user will have the same experience across all devices.
To set this up, open src/app.tsx and make the following changes:
import { BrowserRouter, Route, Routes, useNavigate } from 'react-router-dom';import { ClerkProvider, SignIn, SignUp, useUser } from '@clerk/clerk-react'; import {   useIsDVCInitialized,   withDVCProvider, } from '@devcycle/devcycle-react-sdk';import { Layout } from './components/_layout';import { HomePage } from './components/home';import { DashboardLayout } from './components/dashboard/_dashboard-layout';import { DashboardHome } from './components/dashboard/dashboard-home';import { DashboardWaffles } from './components/dashboard/dashboard-waffles';import { DashboardProgress } from './components/dashboard/dashboard-progress';
import './styles/main.css';
const MainApp = () => {   const { isLoaded } = useUser();   const { isLoaded, user } = useUser();
   // this little maneuver saves us from having yet another split out component   const MainAppWithFeatureFlags = withDVCProvider({     sdkKey: import.meta.env.VITE_DEVCYCLE_CLIENT_KEY,     user: {       user_id: user?.id,       name: user?.firstName ?? '',       email: user?.emailAddresses[0].emailAddress,     },   })(() => {     const dvcReady = useIsDVCInitialized();
     if (!isLoaded) {     if (!dvcReady || !isLoaded) {      return (        <div className="loading">          <p>loading...</p>        </div>      );    }
    return (      <Routes>        <Route element={<Layout />}>          <Route path="/" element={<HomePage />} />          <Route            path="/login/*"            element={<SignIn routing="path" path="/login" />}          />          <Route            path="/register/*"            element={<SignUp routing="path" path="/register" />}          />          <Route path="/dashboard" element={<DashboardLayout />}>            <Route index element={<DashboardHome />} />            <Route path="waffles" element={<DashboardWaffles />} />            <Route path="progress" element={<DashboardProgress />} />          </Route>        </Route>      </Routes>    );   });
   return <MainAppWithFeatureFlags />;};
/** Clerk needs access to the React Router context, so we need to split out the* component to allow for that.*/const ClerkProviderWithRoutes = () => {  const navigate = useNavigate();
  return (    <ClerkProvider      publishableKey={import.meta.env.VITE_CLERK_PUBLISHABLE_KEY}      navigate={(to) => navigate(to)}    >      <MainApp />    </ClerkProvider>  );};
export const App = () => {  return (    <BrowserRouter>      <ClerkProviderWithRoutes />    </BrowserRouter>  );};
This code has a few key features:
- The original output of
MainAppgets wrapped with DevCycle’s provider usingwithDVCProvider, which gets stored in a component and returned fromMainApp. This might look a bit strange, but it simplifies getting access to theuservalue from Clerk’suseUser()hook. - The SDK key and user details get passed as arguments to
withDVCProvider, which connects the app to your DevCycle account and ties the feature flag to the current user. - An additional readiness check is added to make sure DevCycle is loaded before rendering the app using the
useIsDVCInitialized()hook.
Once this is saved, the app is now ready for feature flagging!
Modify app navigation based on feature flags
The app dashboard right now shows the experimental “WAF-FULFILLMENT” feature in the left-hand navigation. Our first order of business is making sure only users in our test cohort can see this nav item.
To do that, modify src/components/dashboard/_dashboard-layout.tsx with the following code:
import { RedirectToSignIn, SignedIn, SignedOut } from '@clerk/clerk-react';import { NavLink, Outlet } from 'react-router-dom'; import { useVariableValue } from '@devcycle/devcycle-react-sdk';import styles from './_dashboard-layout.module.css';
export const DashboardLayout = () => {   const showWaffFulfillment = useVariableValue('waff-fulfillment', false);
  return (    <>      <SignedIn>        <div className={styles.dashboard}>          <nav className={styles.nav}>            <NavLink              to="/dashboard"              className={({ isActive }) => (isActive ? styles.active : '')}              end            >              Dashboard            </NavLink>            <NavLink              to="/dashboard/waffles"              className={({ isActive }) => (isActive ? styles.active : '')}            >              Your Waffles            </NavLink>             {showWaffFulfillment ? (              <NavLink                to="/dashboard/progress"                className={({ isActive }) => (isActive ? styles.active : '')}            >                Waff-fulfillment              </NavLink>             ) : null}          </nav>          <section className={styles.content}>            <Outlet />          </section>        </div>      </SignedIn>      <SignedOut>        <RedirectToSignIn />      </SignedOut>    </>  );};
Save the page and — if you’re one of the 50% of users to whom the feature flag is set to true — the nav item will disappear.

Add additional targeting to allow easier development
During development, it’s helpful to be able to toggle the feature flag on or off for your user to make sure things are working as expected. To do this, head back to your DevCycle dashboard and go back to the “Users & Targeting” section for development.
Click the “Add Targeting Rule” option below the original definition, then use the up arrow button at the right to move the new targeting rule to the top of the list. These rules are evaluated in order, so more specific rules go first.
Give the new rule a name of “Developer Targeting”. For the definition, select “User Email”. In the second dropdown select “is”. In the final input, add your email address.

With this in place, you can update the “Serve” option to be on or off, and when you save the flag will be updated in the app. This works without a reload, which is really powerful because it means you have full control.
Turn the variation on and you’ll see the nav item appear. Turn it off and it’ll disappear.
Show or hide an announcement banner based on a feature flag
Next, let’s update the dashboard so it only shows the announcement banner at the top if the feature flag is enabled.
To do this, make the following changes in src/components/dashboard/dashboard-home.tsx:
import { useVariableValue } from '@devcycle/devcycle-react-sdk';import { Link } from 'react-router-dom';import waffles from '../../data/waffles.json';import styles from './_dashboard-layout.module.css';
export const DashboardHome = () => { const showWaffFulfillment = useVariableValue('waff-fulfillment', false);
return ( <> {showWaffFulfillment ? ( <section className="box"> <div className="boxTopper"> <h2>NEW! Your Journey Toward Waff-fulfillment</h2> <div className={styles.boxControls}> <Link to="/dashboard/progress" className={styles.button}> check it out → </Link> </div> </div> </section> ) : null} <section className="box"> {/* unchanged below this line */}Save and the banner will disappear when the variation is turned off.

Disable a feature route using a feature flag
As it stands, there are no links presented to a user in the “off” variation. However, if they knew the URL they could still get to the feature manually.
To disable the feature entirely, modify src/app.tsx to only render the route if the feature flag is true for the given user.
import { BrowserRouter, Route, Routes, useNavigate } from 'react-router-dom';import { ClerkProvider, SignIn, SignUp, useUser } from '@clerk/clerk-react';import {  useIsDVCInitialized,   useVariableValue,  withDVCProvider,} from '@devcycle/devcycle-react-sdk';import { Layout } from './components/_layout';import { HomePage } from './components/home';import { DashboardLayout } from './components/dashboard/_dashboard-layout';import { DashboardHome } from './components/dashboard/dashboard-home';import { DashboardWaffles } from './components/dashboard/dashboard-waffles';import { DashboardProgress } from './components/dashboard/dashboard-progress';
import './styles/main.css';
const MainApp = () => {  const { isLoaded, user } = useUser();
  // this little maneuver saves us from having yet another split out component  const MainAppWithFeatureFlags = withDVCProvider({    sdkKey: import.meta.env.VITE_DEVCYCLE_CLIENT_KEY,    user: {      user_id: user?.id,      name: user?.firstName ?? '',      email: user?.emailAddresses[0].emailAddress,    },  })(() => {    const dvcReady = useIsDVCInitialized();     const showWaffFulfillment = useVariableValue('waff-fulfillment', false);
    if (!dvcReady || !isLoaded) {      return (        <div className="loading">          <p>loading...</p>        </div>      );    }
    return (      <Routes>        <Route element={<Layout />}>          <Route path="/" element={<HomePage />} />          <Route            path="/login/*"            element={<SignIn routing="path" path="/login" />}          />          <Route            path="/register/*"            element={<SignUp routing="path" path="/register" />}          />          <Route path="/dashboard" element={<DashboardLayout />}>            <Route index element={<DashboardHome />} />            <Route path="waffles" element={<DashboardWaffles />} />             {showWaffFulfillment ? (              <Route path="progress" element={<DashboardProgress />} />             ) : null}          </Route>        </Route>      </Routes>    );  });
  return <MainAppWithFeatureFlags />;};
/* unchanged below this line */
With that change, it’s no longer possible to access the feature in any way unless the feature flag is on for the current user.
Feature flags let you stop guessing and start learning
Feature flags are one of the best ways to take the risk out of shipping so you can gather real data instead of guessing what your users want. A good feature flagging workflow gives your team both safety and speed so you can ship new features and experiments faster than ever.
Thanks again to DevCycle for sponsoring this video. Learn more about what you can do with DevCycle on their website.