Replace Text & Images Using Edge Functions and HTMLRewriter
Transform HTML at request time using HTMLRewriter and Edge Functions. Update text, element attributes, and more.
Edge Functions (also referred to as cloud workers or edge compute) are a powerful way to modify requests to web content without modifying the source code or using client-side JavaScript.
Developers can use edge functions to manage a range of tasks, including:
- Auth and access control
- Proxying and rewriting content
- Personalization and customization
- Localization and translation
- Content transformation
- Custom headers
- Cookies
- and more
In this tutorial, we’ll take a look at how to transform an HTML response using HTMLRewriter in a Netlify Edge Function.
Jump to the end: source code | demo
1. Set up an HTML page
For this example we’ll work with a simple HTML page with a little bit of custom CSS to make it look nice.
Expand to see the full HTML and CSS used in this example
<!DOCTYPE html><html lang="en"> <head> <meta charset="UTF-8" /> <meta http-equiv="X-UA-Compatible" content="IE=edge" /> <meta name="viewport" content="width=device-width, initial-scale=1.0" /> <title>A Treatise on Pizza</title> <link rel="stylesheet" href="/styles/main.css" /> </head> <body> <main> <h1>A Treatise on Pizza</h1>
<p> It is empirically provable that pizza is the superior foodstuff. In this essay I will lay out the data-driven case for pizza’s scientific superiority. </p>
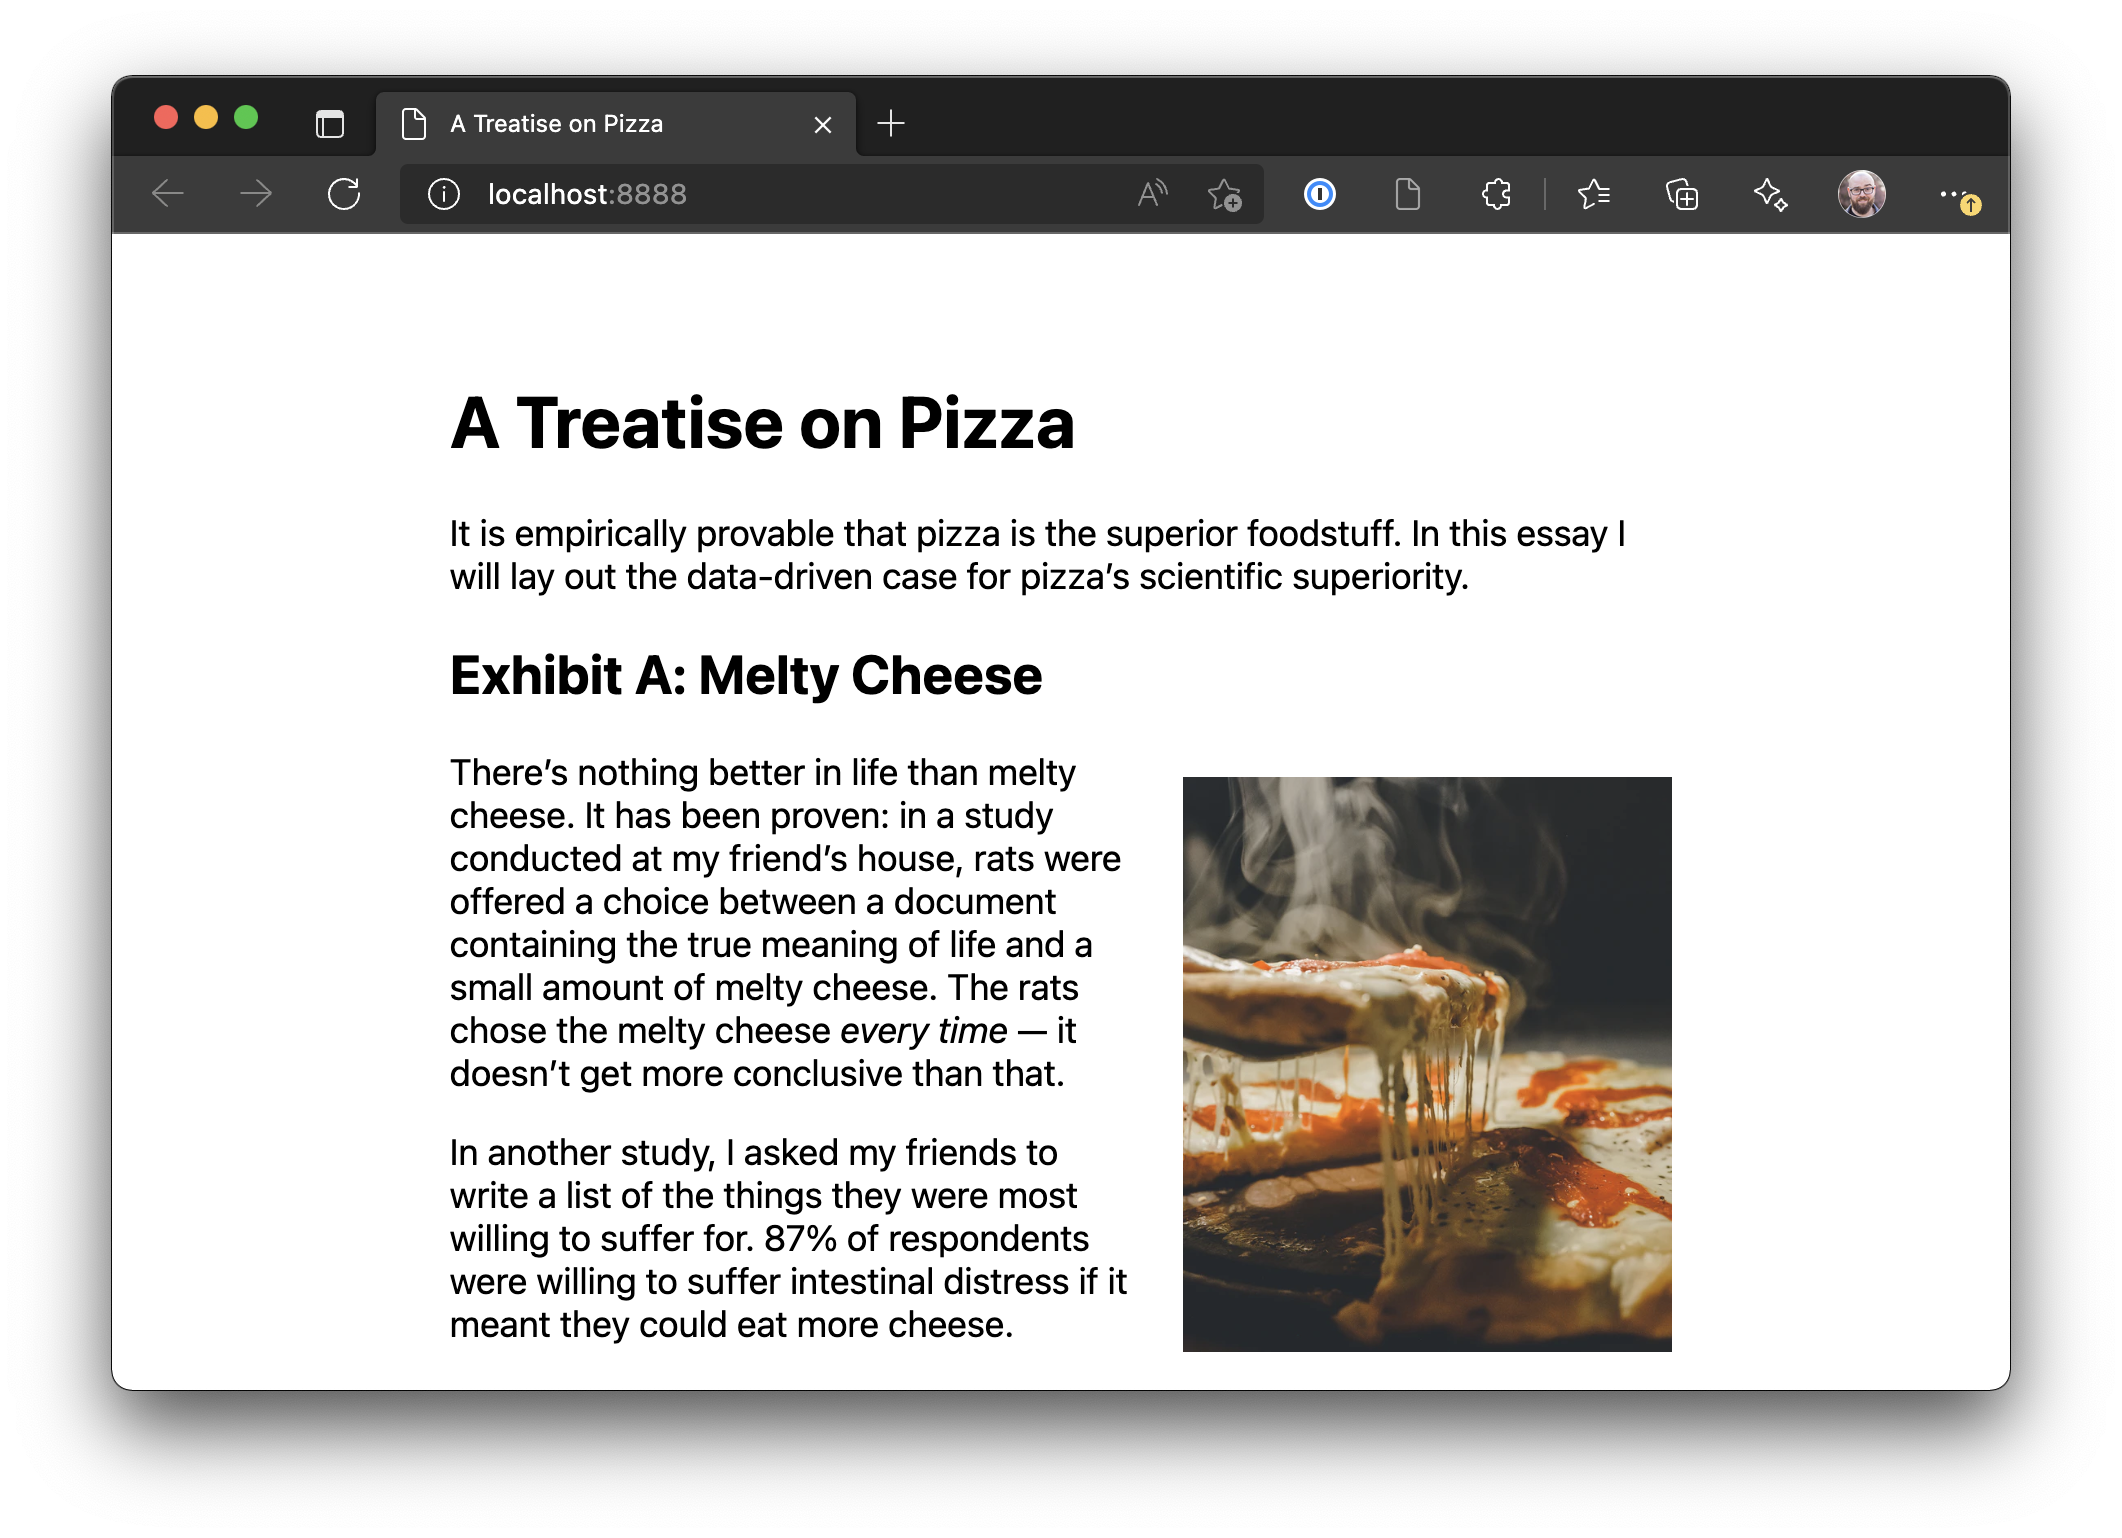
<h2>Exhibit A: Melty Cheese</h2>
<img class="right cheesy" src="https://images.unsplash.com/photo-1593504049359-74330189a345?ixlib=rb-1.2.1&ixid=MnwxMjA3fDB8MHxwaG90by1wYWdlfHx8fGVufDB8fHx8&auto=format&fit=crop&w=600&ar=0.85:1&fit=crop&q=80&crop=entropy" alt="melty cheese pizza" />
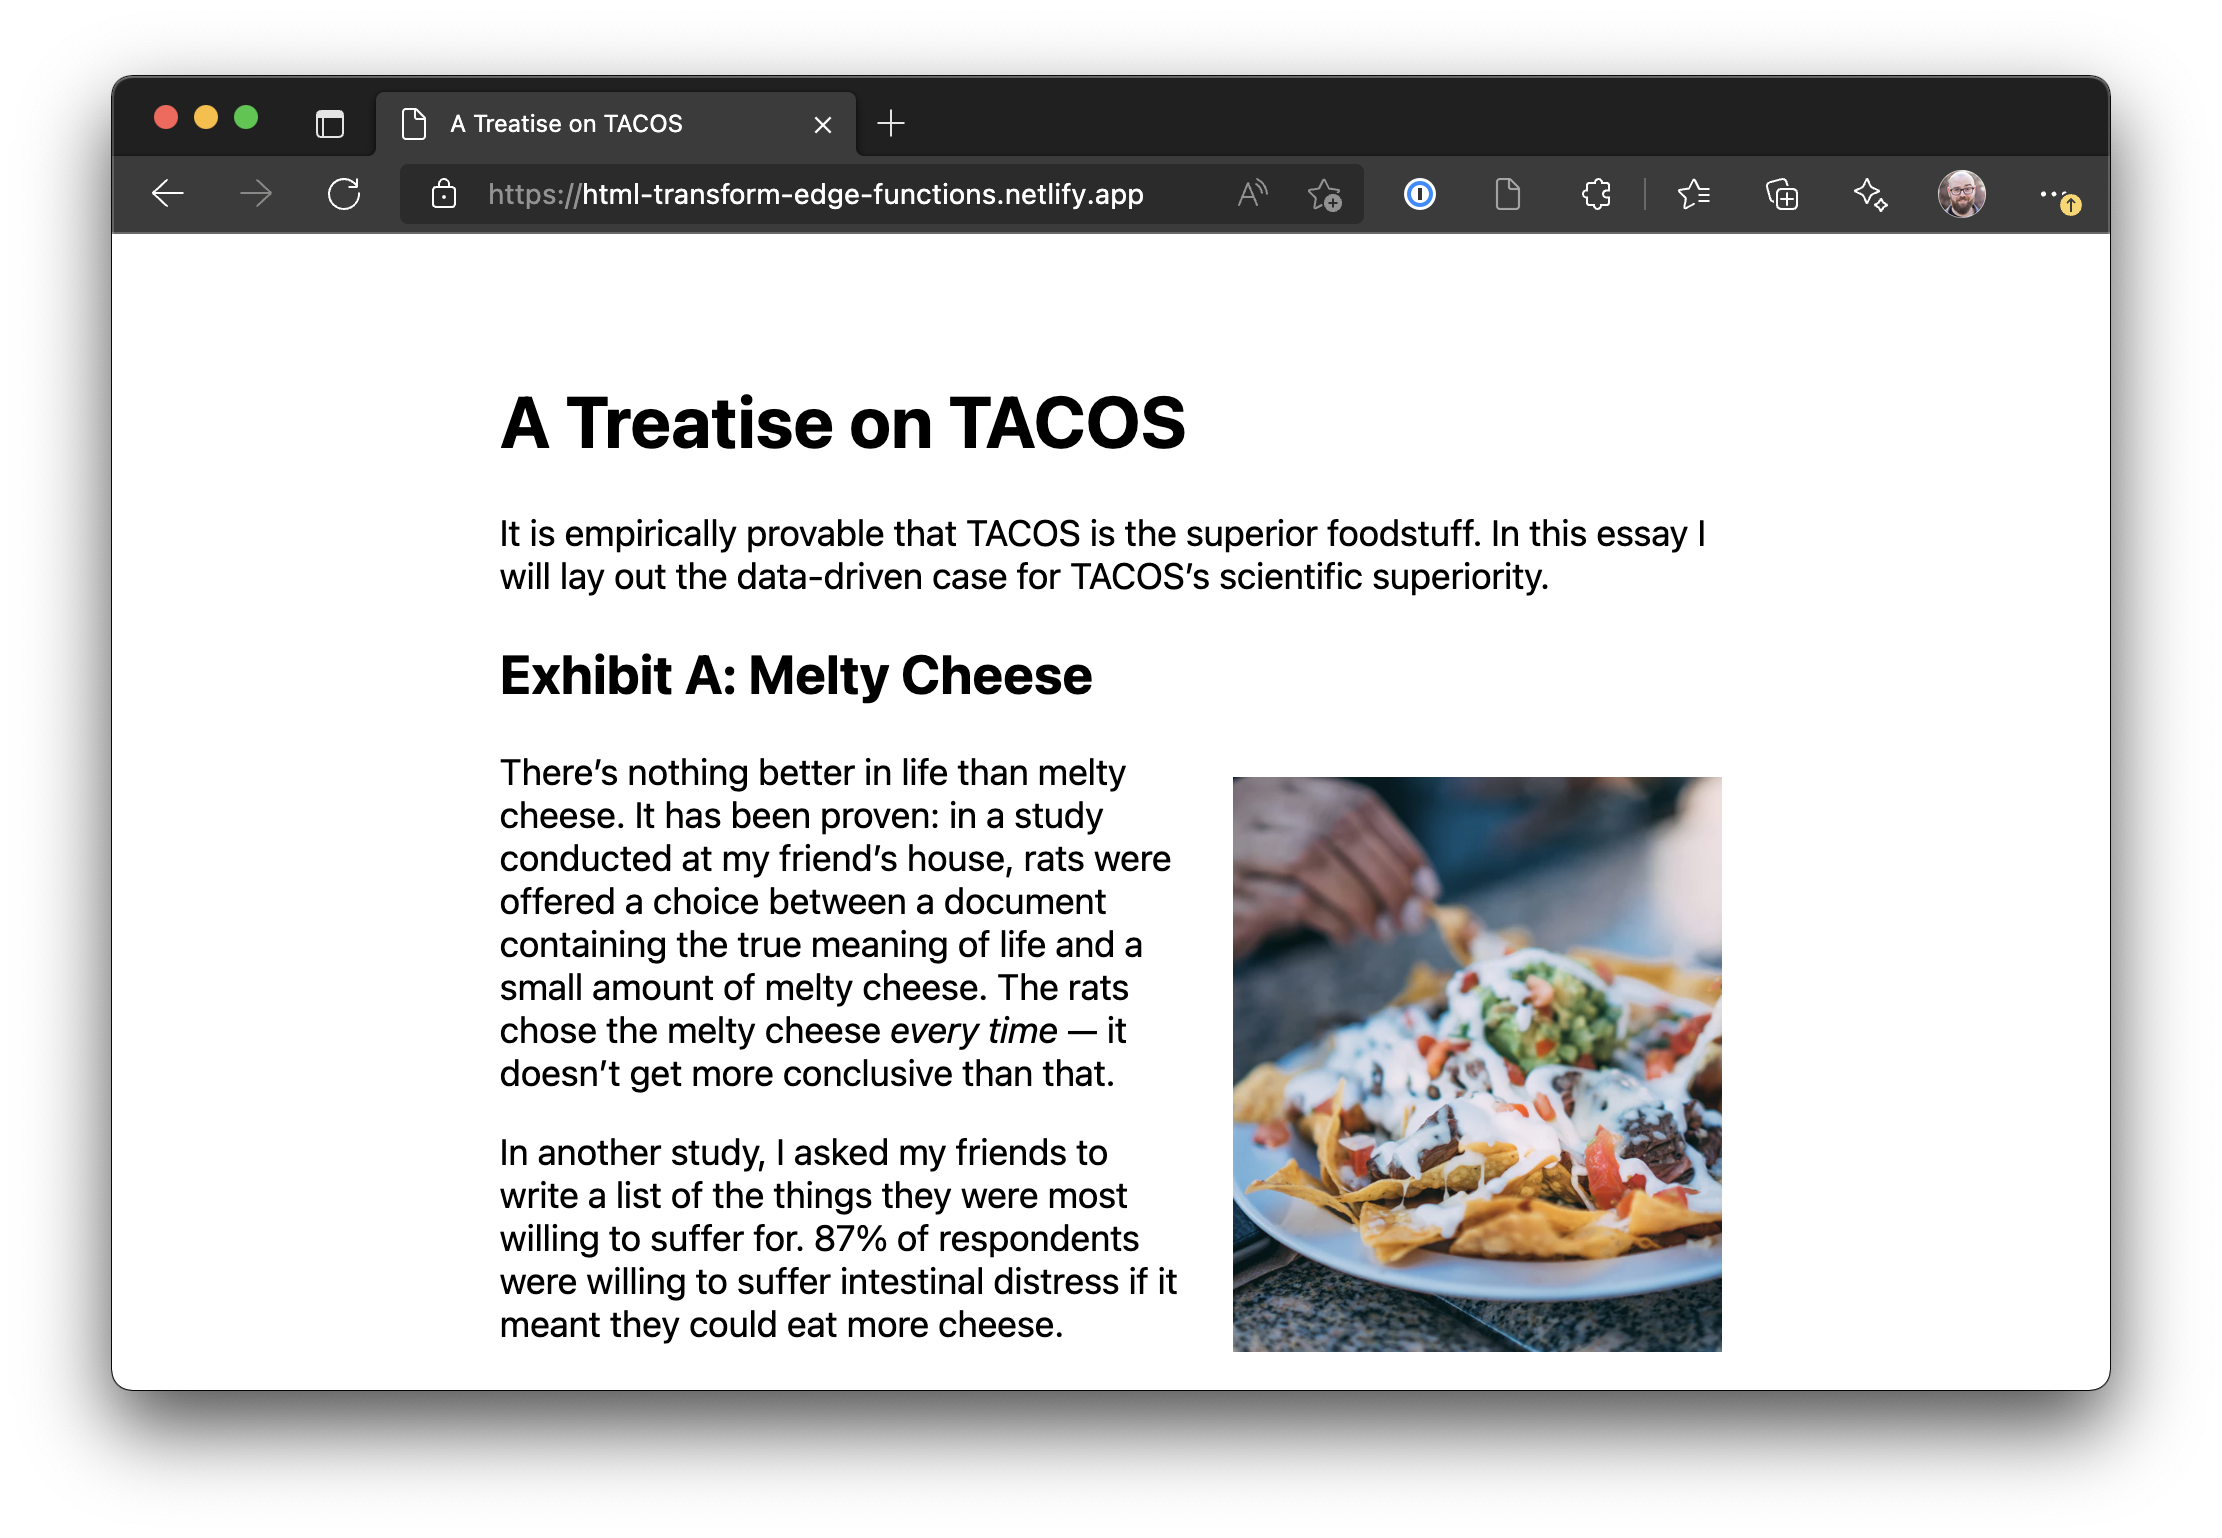
<p> There’s nothing better in life than melty cheese. It has been proven: in a study conducted at my friend’s house, rats were offered a choice between a document containing the true meaning of life and a small amount of melty cheese. The rats chose the melty cheese <em>every time</em> — it doesn’t get more conclusive than that. </p>
<p> In another study, I asked my friends to write a list of the things they were most willing to suffer for. 87% of respondents were willing to suffer intestinal distress if it meant they could eat more cheese. </p>
<h2>Exhibit B: Salty Meats</h2>
<img class="left salty" src="https://images.unsplash.com/photo-1601924582970-9238bcb495d9?ixlib=rb-1.2.1&ixid=MnwxMjA3fDB8MHxwaG90by1wYWdlfHx8fGVufDB8fHx8&auto=format&fit=crop&w=988&q=80&ar=0.85:1&fit=crop" alt="a pepperoni pizza" />
<p> The presence of a savory, salty ingredient adds a distinct advantage for pizza over lesser foodstuffs. If you’ve ever wondered why just about every restaurant table includes a salt shaker, but they rarely contain a shaker of, like, rosemary, it’s because the human palate has evolved to recognize the best flavors, and the best flavors are salty. </p>
<p> In a study where half of participants were given a salt shaker filled with salt, and the other half of participants were given a salt shaker filled with granulated sugar, 100% of respondents were very upset with me for putting sugar in a salt shaker. </p> <p>This is evidence that 100% of people prefer salt.</p>
<h2>Conclusion: Pizza Is the Best Food</h2>
<p> Based on the ironclad scientific evidence above, we can conclude with absolute certainty that pizza, which is basically melty cheese and salty meats on bread (which is the second-best foodstuff), is the best foodstuff. </p> </main> </body></html>* { box-sizing: border-box;}
html { font-family: -apple-system, BlinkMacSystemFont, 'Segoe UI', Roboto, Oxygen-Sans, Ubuntu, Cantarell, 'Helvetica Neue', sans-serif; font-size: 18px;}
main { margin: 4rem auto 6rem; width: min(90vw, 54ch);}
h2 { clear: both;}
.left,.right { aspect-rato: 0.85 / 1; margin: 0.75rem 0 1.5rem; max-width: 40%;}
.left { float: left; margin-right: 1.5rem;}
.right { float: right; margin-left: 1.5rem;}Create a folder for your project and place the HTML and CSS in a public folder. The folder structure should look like this:
.└── public ├── index.html └── styles └── main.css2. Set up local dev and deployment
To make it possible to develop and test Edge Functions locally — and deploy them to production once they’re running — create a netlify.toml at the folder root and place the following inside:
[build] publish = "public"Next, install the Netlify CLI if you don’t already have it:
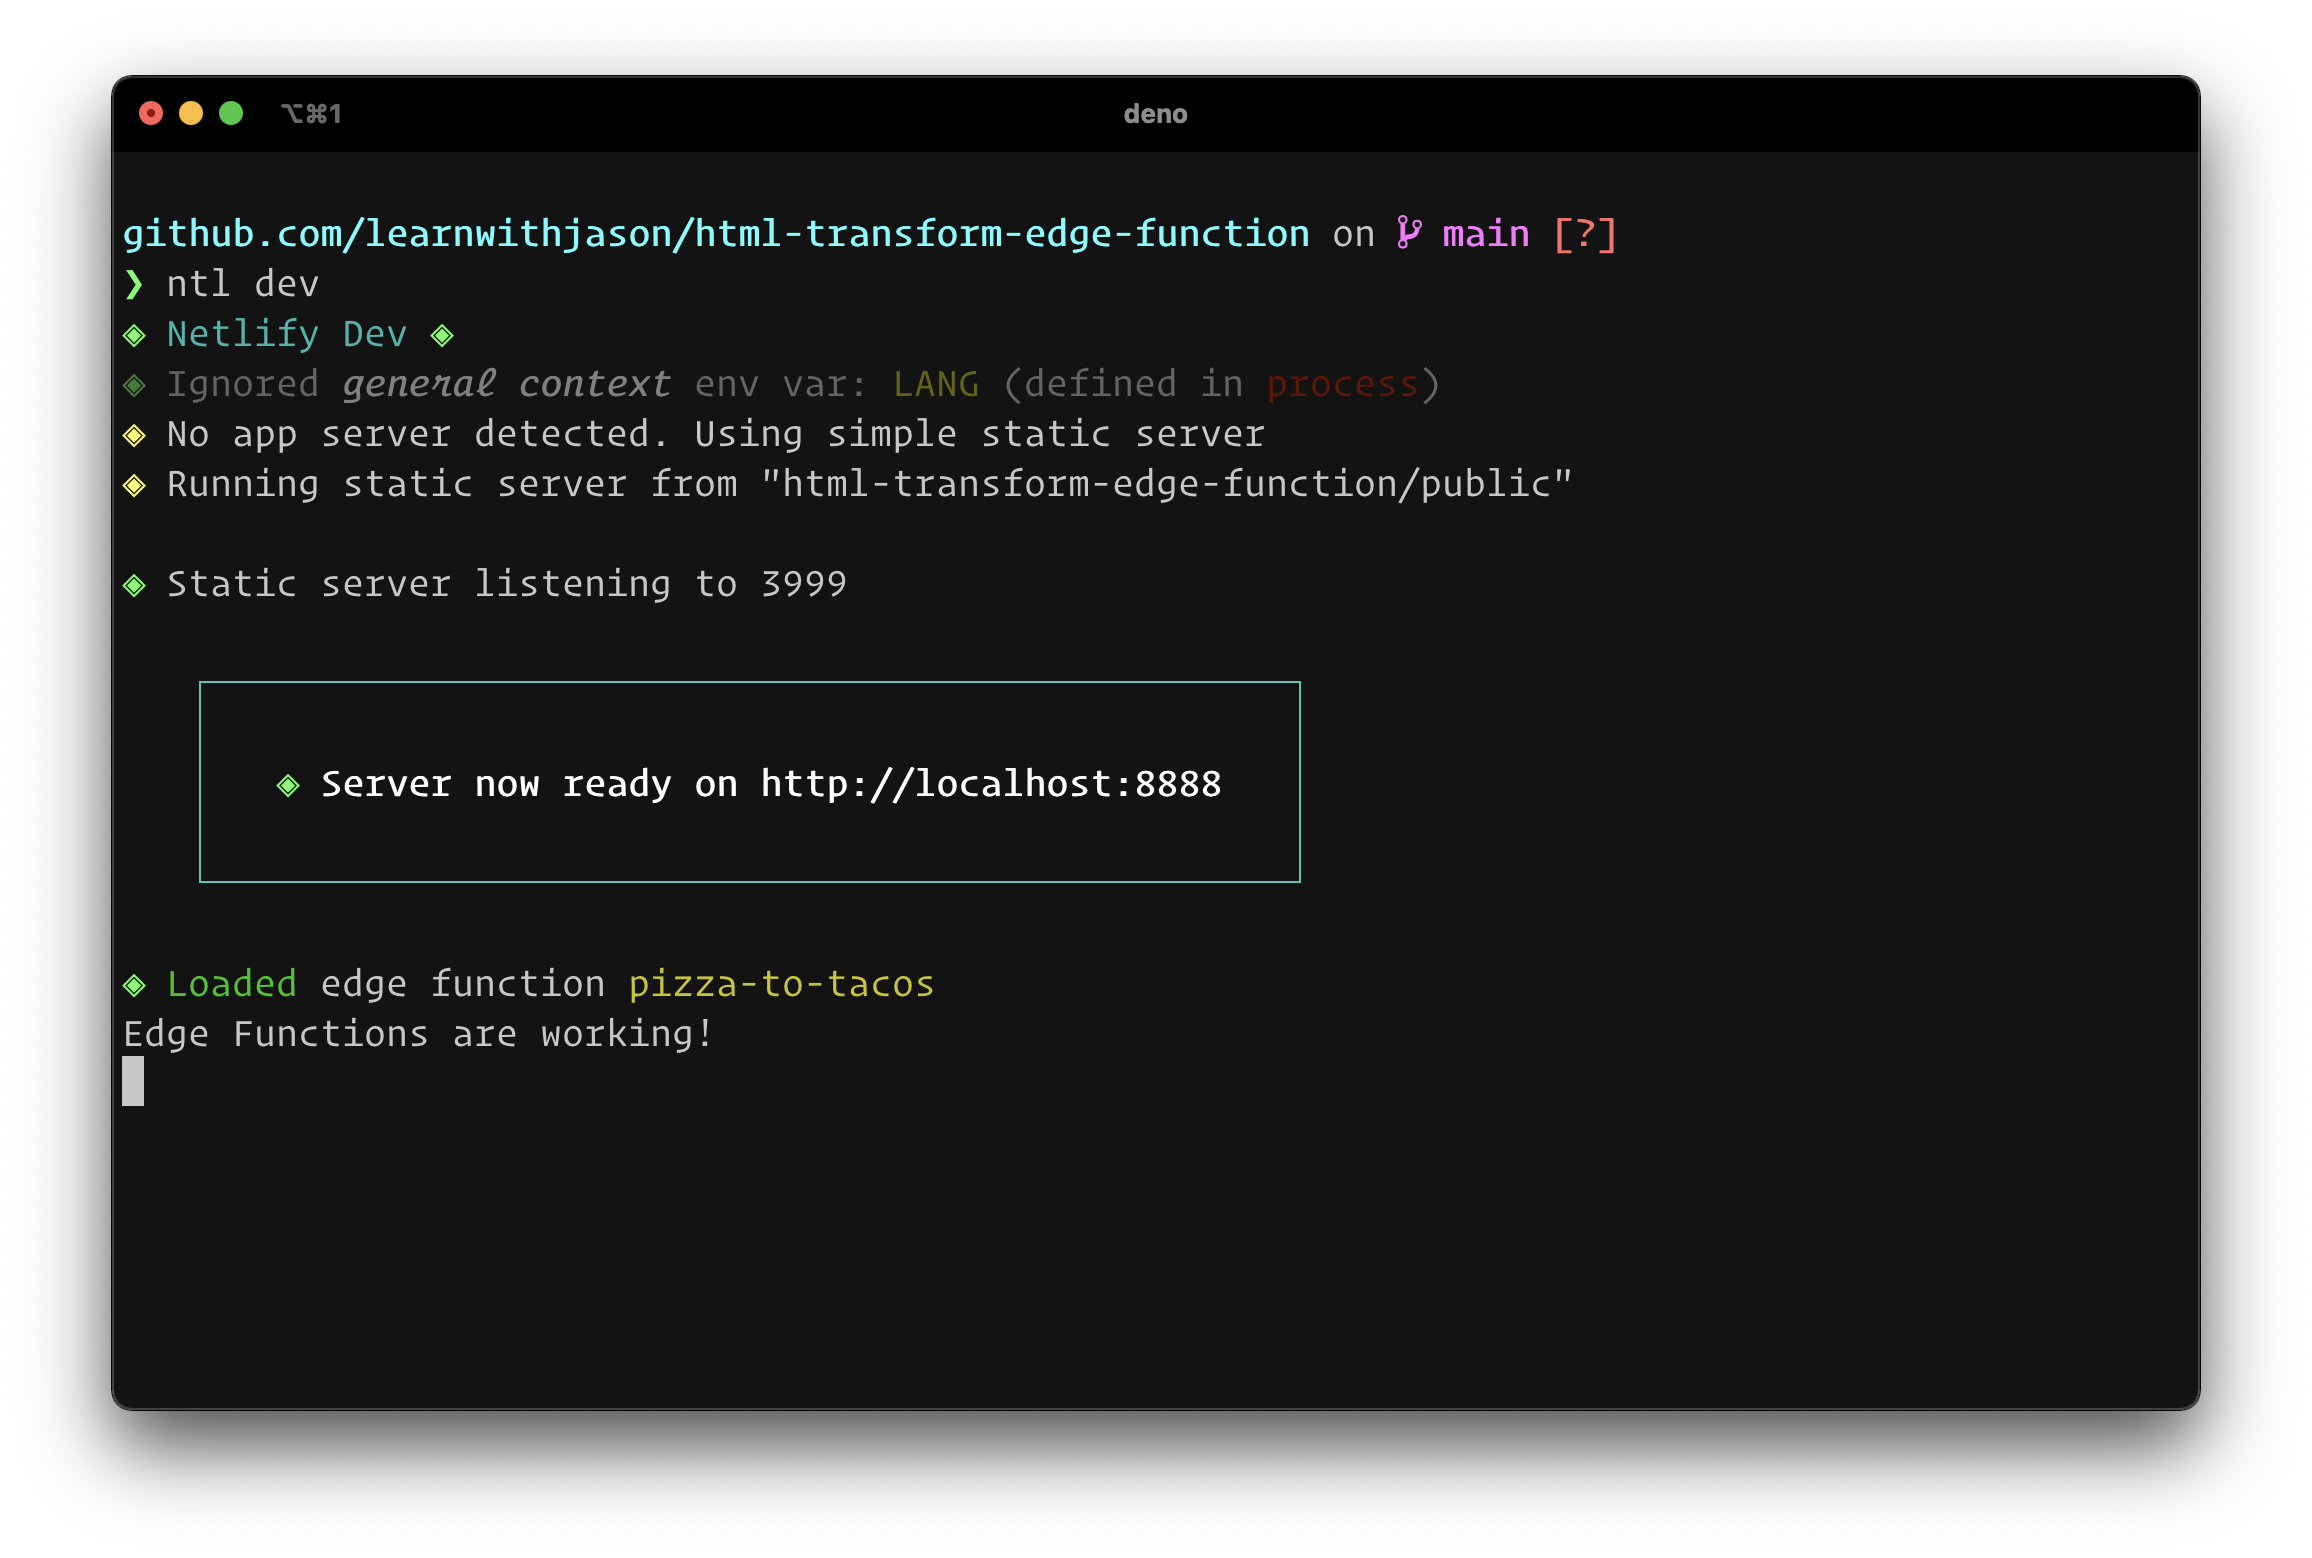
npm i -g netlify-cliStart the site locally by running the following command from your project root:
ntl devThis will open http://localhost:8888 in your browser and display the HTML.
3. Create an Edge Function
Create your first Edge Function by adding a new file at netlify/edge-functions/pizza-to-tacos.js. Once it’s created, the file tree should look like this:
❯ tree ..├── netlify│ └── edge-functions│ └── pizza-to-tacos.js├── netlify.toml└── public ├── index.html └── styles └── main.cssInside the Edge Function, let’s start by making sure it’s running as expected. Add the following code:
export default async () => { console.log('Edge Functions are working!');};To turn this on, we need to modify our netlify.toml with the following:
[build]  publish = "public"
[[edge_functions]]  path = "/"  function = "pizza-to-tacos"
The path tells Netlify what URL path should trigger an Edge Function, and the function identifies which Edge Function should be triggered.
Restart your local dev server (ctrl + C, then run ntl dev again), then load the homepage and check the console output to see the log. This means our Edge Function is running.
4. Transform streaming text with an Edge Function
In order to keep responses fast, Edge Functions will stream responses, which means that the response is sent to the browser in chunks instead of waiting until the full document is processed.
This is great for performance, but it can be confusing for transformations because we can’t just run a find-and-replace — it’s possible that the text we’re searching for will be broken across chunks! For example, the sentence “A great big ol’ honkin’ donut.” may be sent in two chunks: “A great big ” and “ol’ honkin’ donut.” This means that if we were trying to replace “big ol’” in our text, a straightforward find-and-replace would fail.
Set up HTMLRewriter
To solve for this, we can use the HTMLRewriter tool, which was originally created by the Cloudflare team and later ported for use with Deno and other open runtimes by Florian Klampfer.
Let’s implement the HTMLRewriter in our Edge Function by replacing the contents of pizza-to-tacos.js with the following:
import { HTMLRewriter } from 'https://ghuc.cc/worker-tools/html-rewriter/index.ts';
export default async (request, context) => {  const response = await context.next();
  return new HTMLRewriter().transform(response);};
It’s worth noting that the import is done using Deno-style, URL-based packages. This means we don’t need a package.json or other installation step — it will Just Work™.
The Edge Function takes two arguments:
request— a standards-basedRequestobject with information from the incoming requestcontext— a collection of Netlify-specific helpers and data
To get the data that will be returned to the browser, we use the context.next() helper. Next, we return a new instance of the HTMLRewriter that calls the transform() method on the response.
Write a transform for all text nodes
Transformation works by using an element selector (very similar to CSS selectors), then running a function against the matched elements.
To transform text, we’ll use the text method, put each chunk of streamed text into a buffer, and wait until we reach the end of the text node before running our transform to ensure all text is properly transformed.
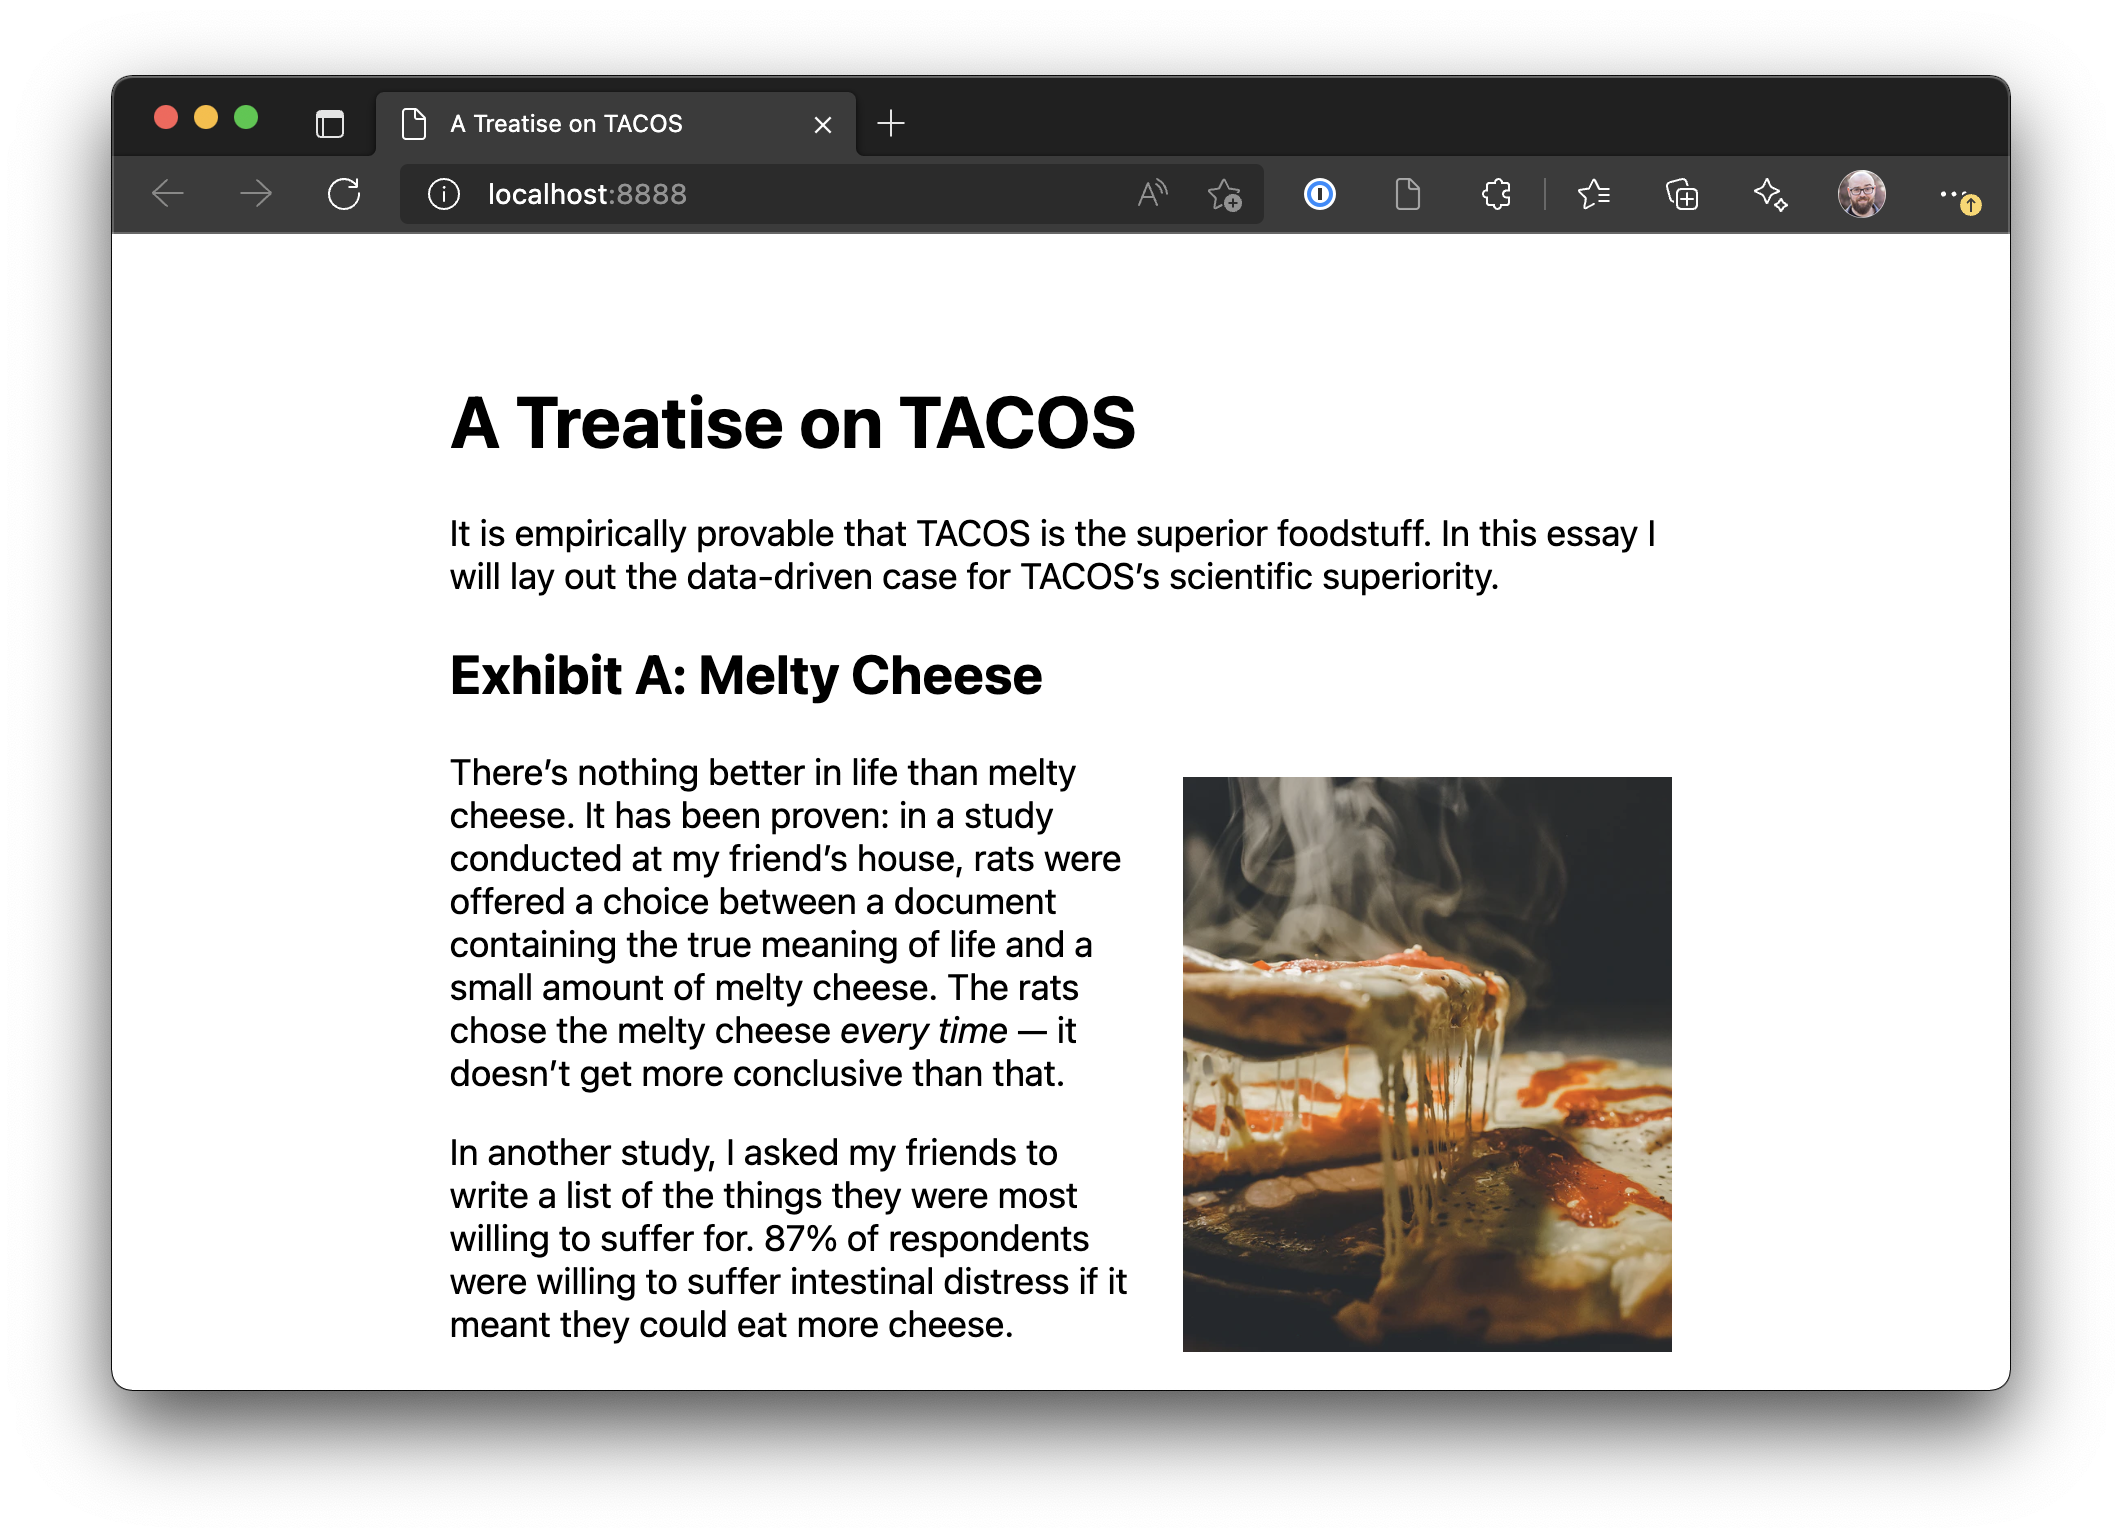
Add the following code to transform every instance of the word “pizza” to the word “TACOS”:
import { HTMLRewriter } from 'https://ghuc.cc/worker-tools/html-rewriter/index.ts';
let buffer = '';export default async (request, context) => {  const response = await context.next();
  return (    new HTMLRewriter()      .on('*', {        text(text) {          buffer += text.text;
          if (text.lastInTextNode) {            text.replace(buffer.replace(/pizza/gi, 'TACOS'));            buffer = '';          } else {            text.remove();          }        },      })      .transform(response)  );};
Calling text.remove() prevents the text from streaming to the browser before it’s replaced. We can do this safely because we’re storing all the text into the buffer variable.
Save the changes and reload your local page to see the transformation in action:
5. Transform element attributes in streaming HTML responses
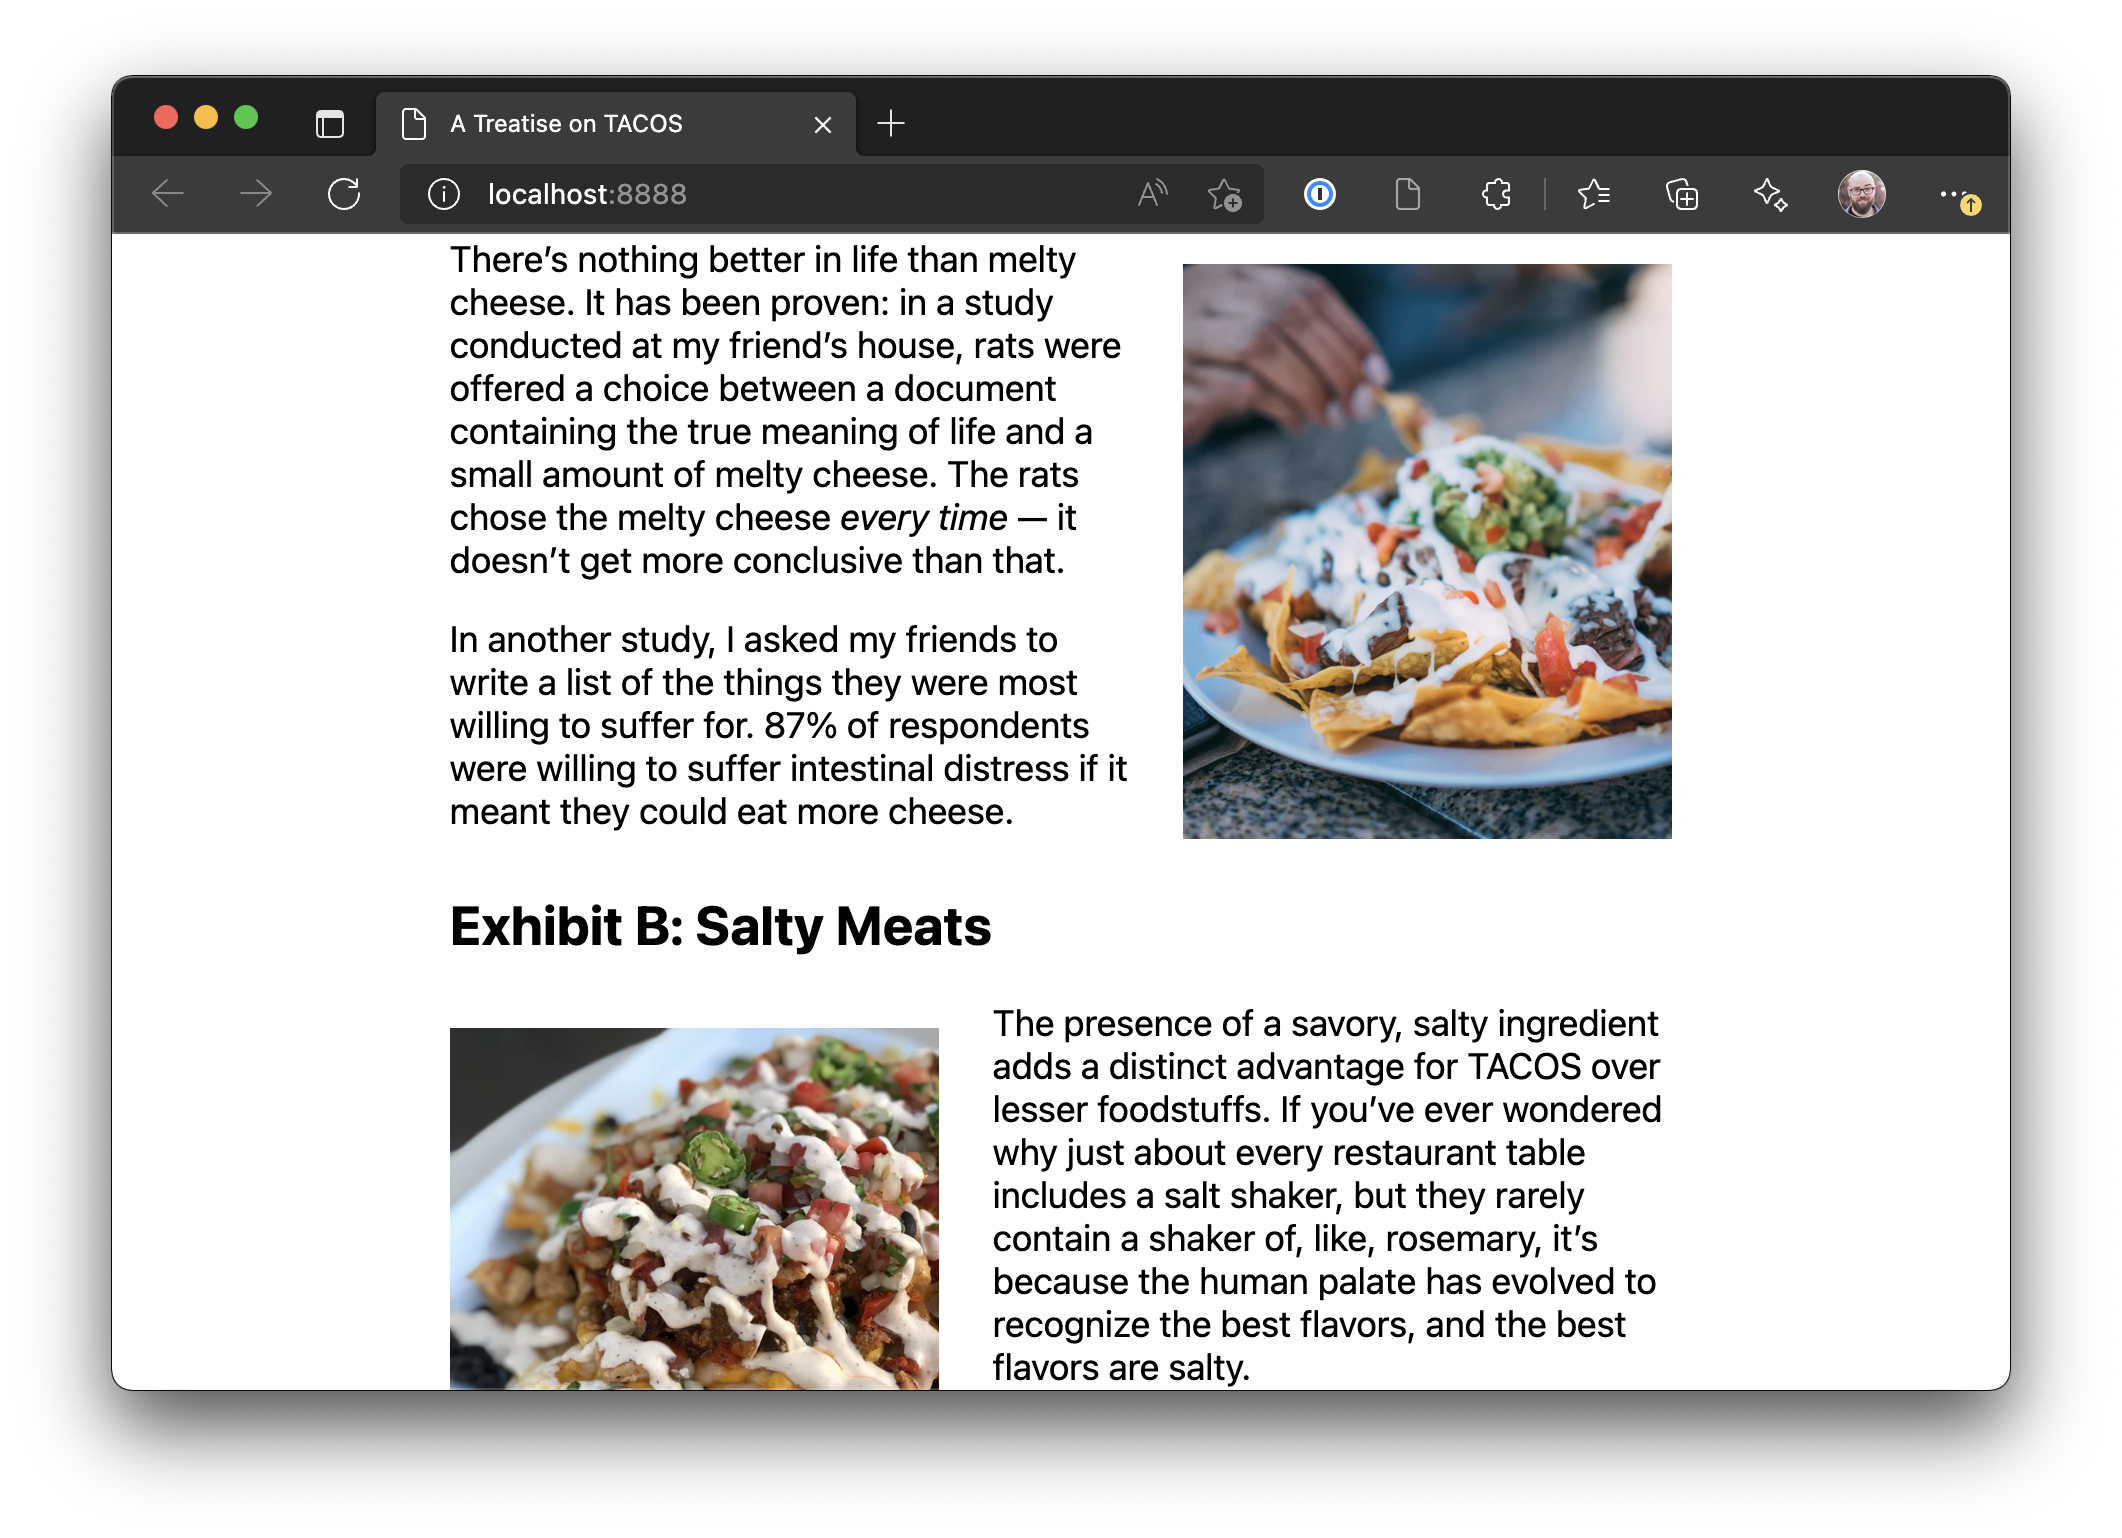
Our transformation isn’t complete yet — we’re still showing photos of pizza despite updating the text to be about tacos.
To fix this, we’ll add an additional transform to select images. On each matched image, we’ll get the classes applied to each. If the classes contain either cheesy or salty as class names, we’ll transform the src attribute for the element to use a different image and add matching alt text.
Make the following changes to pizza-to-tacos.js:
import { HTMLRewriter } from 'https://ghuc.cc/worker-tools/html-rewriter/index.ts';
let buffer = '';export default async (request, context) => {  const url = new URL(request.url);  if (url.searchParams.get('transform') === 'false') {    return context.next();  }
  const response = await context.next();
  return (    new HTMLRewriter()      .on('*', {        text(text) {          buffer += text.text;
          if (text.lastInTextNode) {            text.replace(buffer.replace(/pizza/gi, 'TACOS'));            buffer = '';          } else {            text.remove();          }        },      })      .on('img', {        element(element) {          const classes = element.getAttribute('class');
          let newSrc = false;          let newAlt = false;          if (classes.includes('cheesy')) {            newSrc =              'https://images.unsplash.com/photo-1464219222984-216ebffaaf85?ixlib=rb-1.2.1&ixid=MnwxMjA3fDB8MHxwaG90by1wYWdlfHx8fGVufDB8fHx8&auto=format&fit=crop&w=600&q=80&ar=0.85:1&crop=entropy';            newAlt = 'hands pulling chips from a cheesy pile of nachos';          } else if (classes.includes('salty')) {            newSrc =              'https://images.unsplash.com/photo-1513456852971-30c0b8199d4d?ixlib=rb-1.2.1&ixid=MnwxMjA3fDB8MHxwaG90by1wYWdlfHx8fGVufDB8fHx8&auto=format&fit=crop&w=600&q=80&ar=0.85:1&crop=entropy';            newAlt = 'a close-up of nachos on a plate';          }
          if (newSrc) {            element.setAttribute('src', newSrc);            element.setAttribute('alt', newAlt);          }        },      })      .transform(response)  );};
Save the changes, then reload the browser to see the images transformed:
6. Deploy to production
Now that we have a working Edge Function transforming our HTML, we can deploy it to production on Netlify.
To start, make sure you’re logged into your Netlify account in the CLI:
ntl loginNext, create a new GitHub repository and push your local code to it. We’ll use the GitHub CLI for this example.
git init
# don't track local development filesecho .netlify >> .gitignore
# add all the files we've createdgit add -Agit commit -m 'feat: site ready to deploy'
# create a new repo on GitHub using the GitHub CLIgh repo create
Once the repo is created and you’ve pushed up your code, initialize a new site with the Netlify CLI:
ntl initCreate a new site, then link your new GitHub repository to it. It will start building immediately and will rebuild any time you push to GitHub.
To view the site, click the link from the CLI output, visit your Netlify dashboard, or run this CLI command:
ntl open:siteYour site is deployed to production and the HTML is being transformed. 😎
To see this site running in production, check out the demo. You can also review the source code on GitHub.
Resources
- Learn With Jason episode on Edge Functions
- Netlify Edge Functions docs
- A deep dive into Edge Functions
- HTMLRewriter docs
Acknowledgments
Huge thanks to the Cloudflare team and Florian Klampfer for making HTMLRewriter available. Thanks to @harris on the Cloudflare team for writing up an example of using HTMLRewriter on streaming responses. Also shout-out to Phil and Salma for creating a library of Edge Functions examples that made writing this so much easier.