Typesafe Markdown With Astro Content Collections
Typesafe Markdown might sound like an oxymoron, but with the new content collections released in Astro 2.0, you can now specify a schema for your Markdown frontmatter using Zod and get all the delicious validation and autocomplete that comes with it.
If you want to learn how to get typesafety and autocomplete into your Markdown blog, we’ll go through the whole process of creating a brand new blog powered by Astro content collections in this article.
If you prefer video, I’ve got you covered
If you prefer learning by watching something get built, I recorded building the demo app in this post as a video tutorial. Learn about Astro content collections and typesafe Markdown on YouTube.
Skip to the end
If you’d rather jump straight to looking at the source code, you can find it here:
- Repo: https://github.com/learnwithjason/astro-content-collections
- Demo: https://astro-content-collections.netlify.app
Step 1: Set up a new Astro site
To get started, create a new Astro site:
npm create astroThis command kicks off a guided experience (complete with a cute robot mascot) that walks through setting up a new Astro site.
You will be asked to:
- Choose a name for the directory where the project will live
- Select “an empty project” so we can focus on content collections.
- Install npm dependencies.
- Initialize a new git repository
- This is only necessary if you want to deploy this site. If you’re just playing with content collections to learn, you can skip this step.
Once the site is created, move into the project directory:
cd astro-content-collections/Start the project to make sure everything is running as expected:
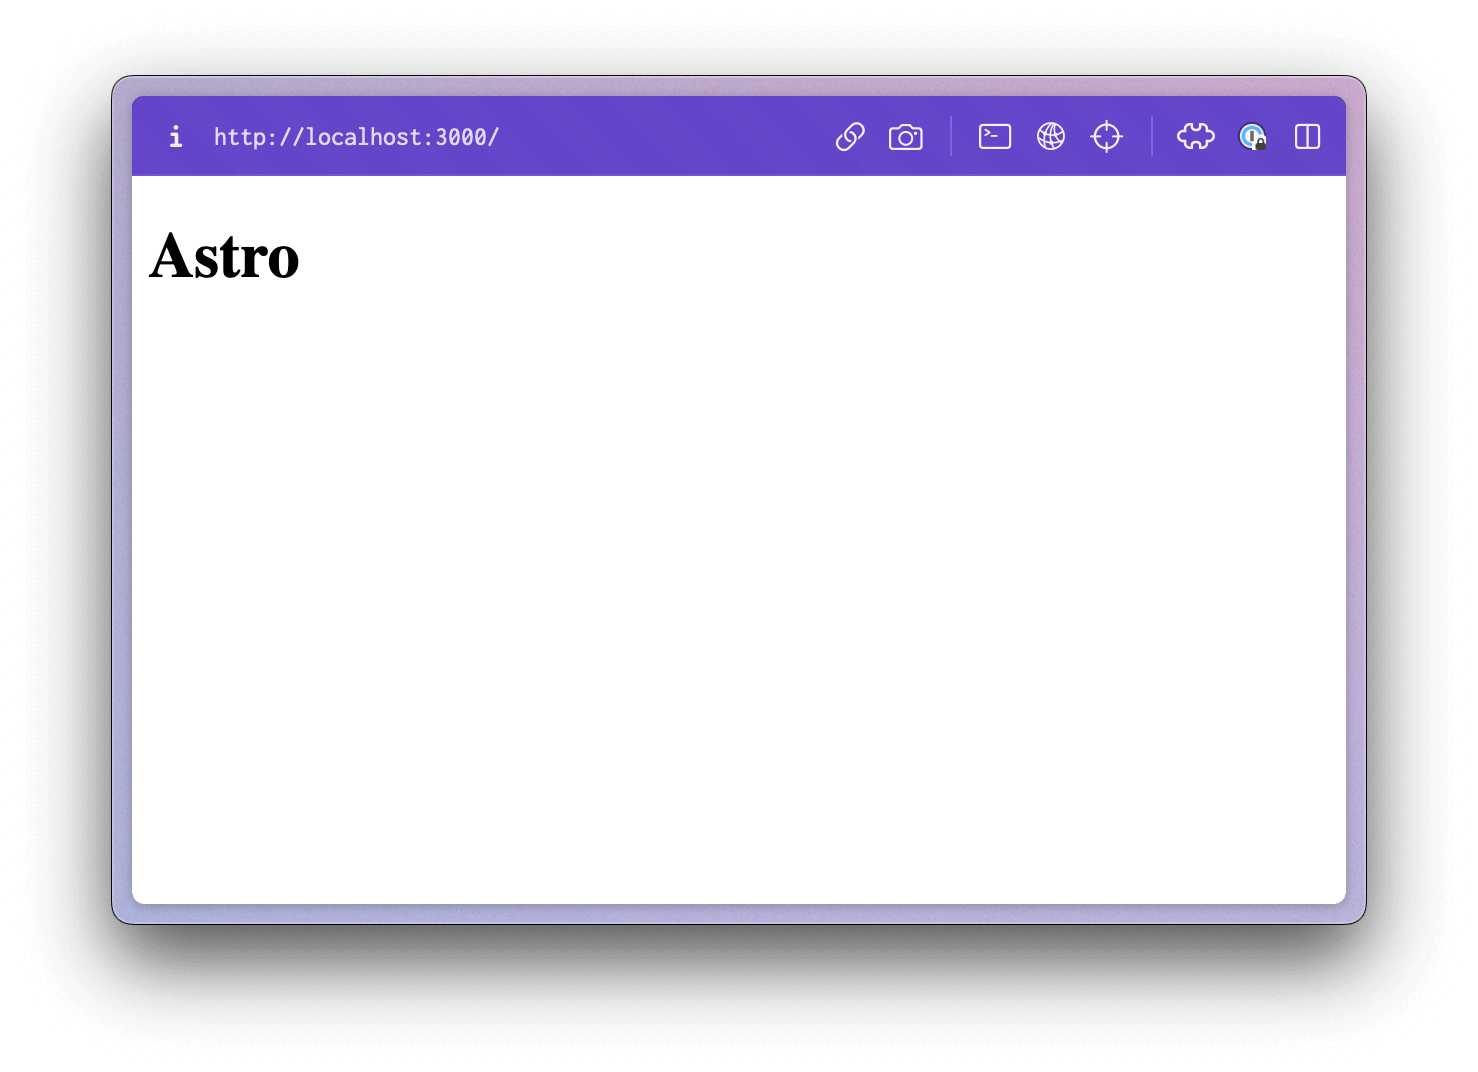
npm run devOpen up localhost:3000 in your browser and you should see this bare-bones page:
Open the project in your code editor of choice and you’re ready to code!
Step 2: Add a layout
To give your blog a cohesive feel, create a layout for the site at src/layouts/default.astro that will be shared across all pages:
---const { title } = Astro.props;---
<html lang="en"> <head> <meta charset="utf-8" /> <link rel="icon" type="image/svg+xml" href="/favicon.svg" /> <meta name="viewport" content="width=device-width" /> <meta name="generator" content="{Astro.generator}" />
<title>{title}</title> </head> <body> <header> <a href="/" rel="home"> <span role="img" aria-label="Cheese">🧀</span> </a> <nav> <a href="/">Blog</a> </nav> </header> <main> <slot /> </main> </body></html>
<style is:global> * { box-sizing: border-box; }
html { color: #484844; font-family: system-ui, -apple-system, BlinkMacSystemFont, 'Segoe UI', Roboto, Oxygen, Ubuntu, Cantarell, 'Open Sans', 'Helvetica Neue', sans-serif; font-size: 18px; line-height: 1.45; }
body { margin: 0; }
h1, h2 { color: #383833; line-height: 1.1; }
img { max-width: 100%; }</style>
<style> header { align-items: center; background-color: bisque; display: flex; justify-content: space-between; padding: 0.5rem 5%; }
a[rel='home'] { font-size: 2.5rem; text-decoration: none; }
nav a { color: #383833; text-decoration: none; }
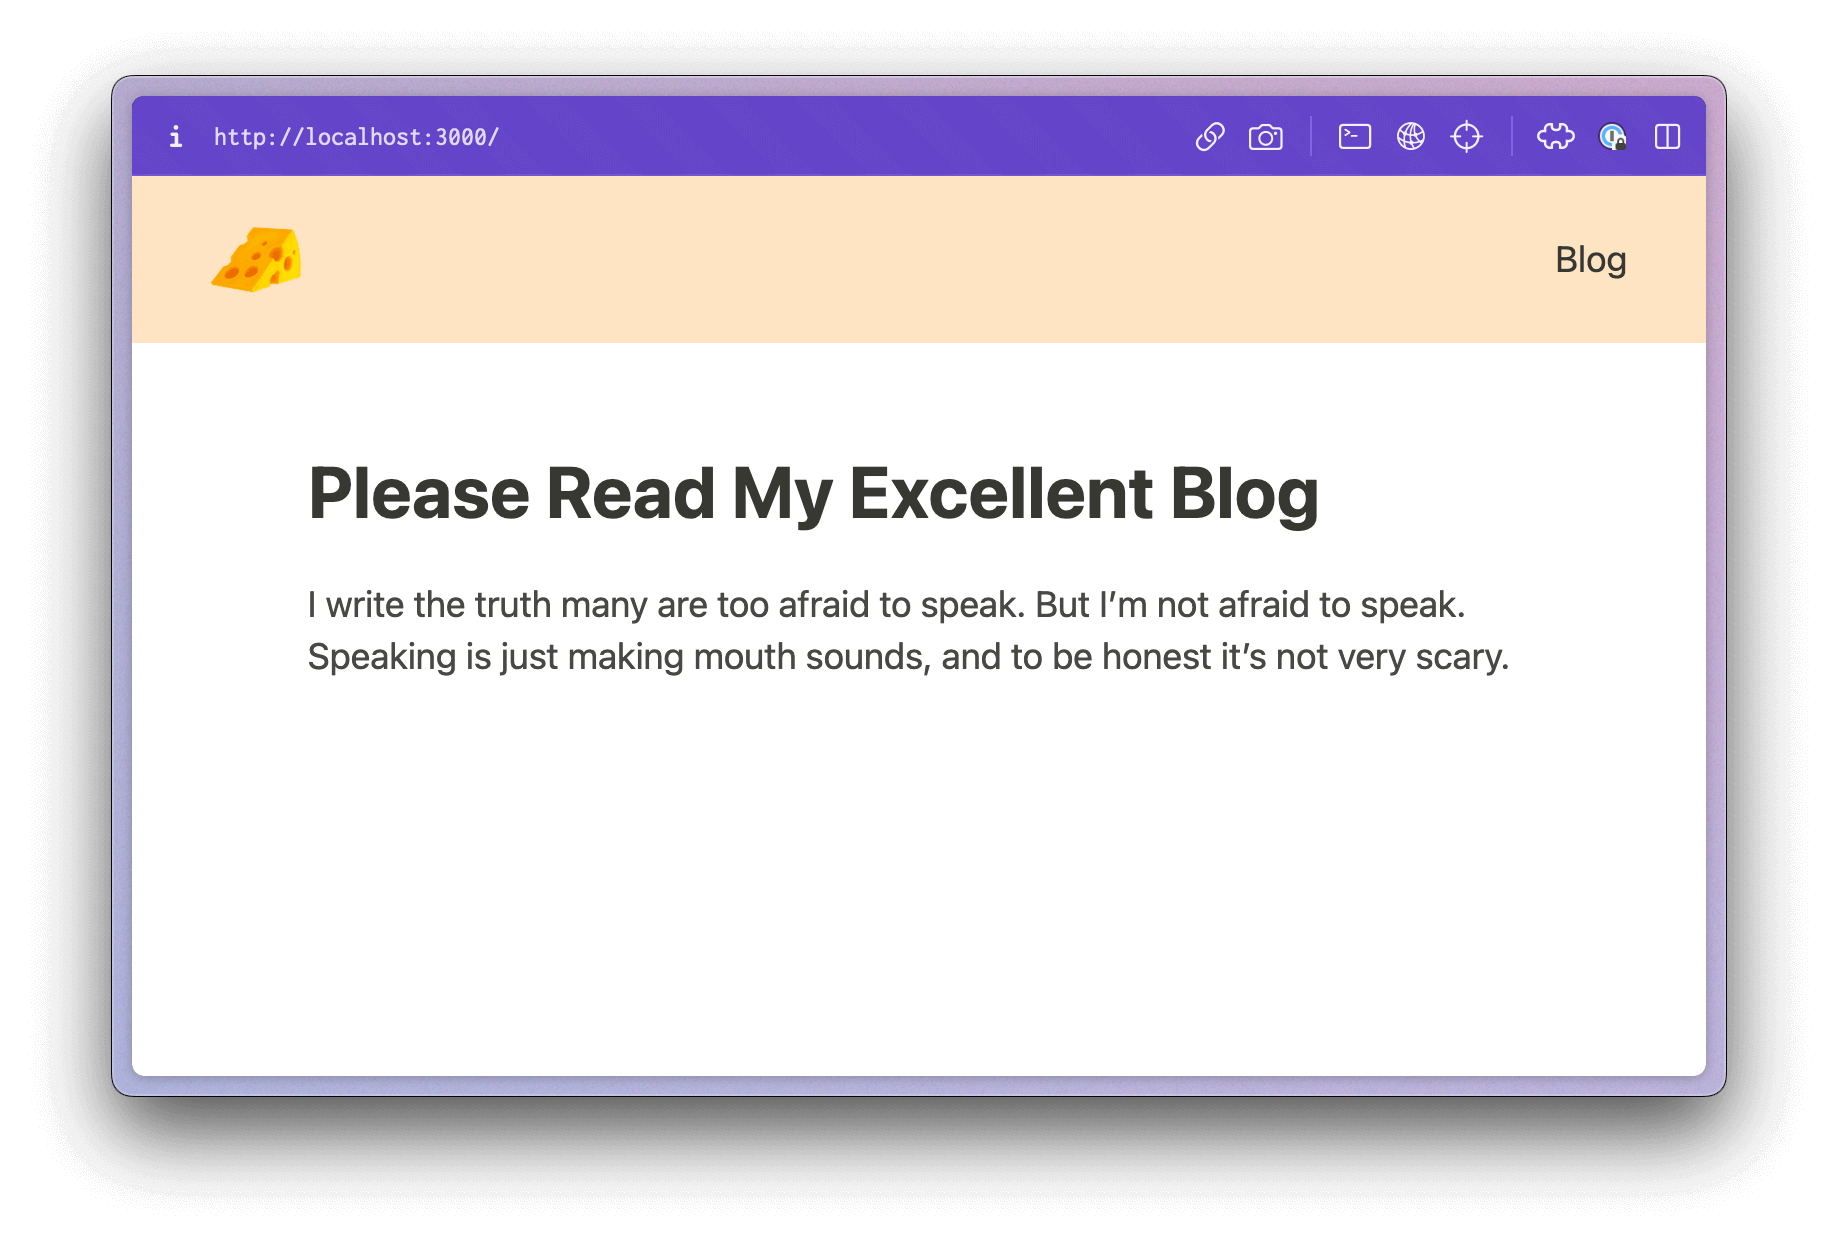
main { margin: 3rem auto; width: min(54ch, 90%); }</style>Edit the home page to use the new layout
Update the home page to use the layout by editing src/pages/index.astro:
---import Layout from '../layouts/default.astro';---
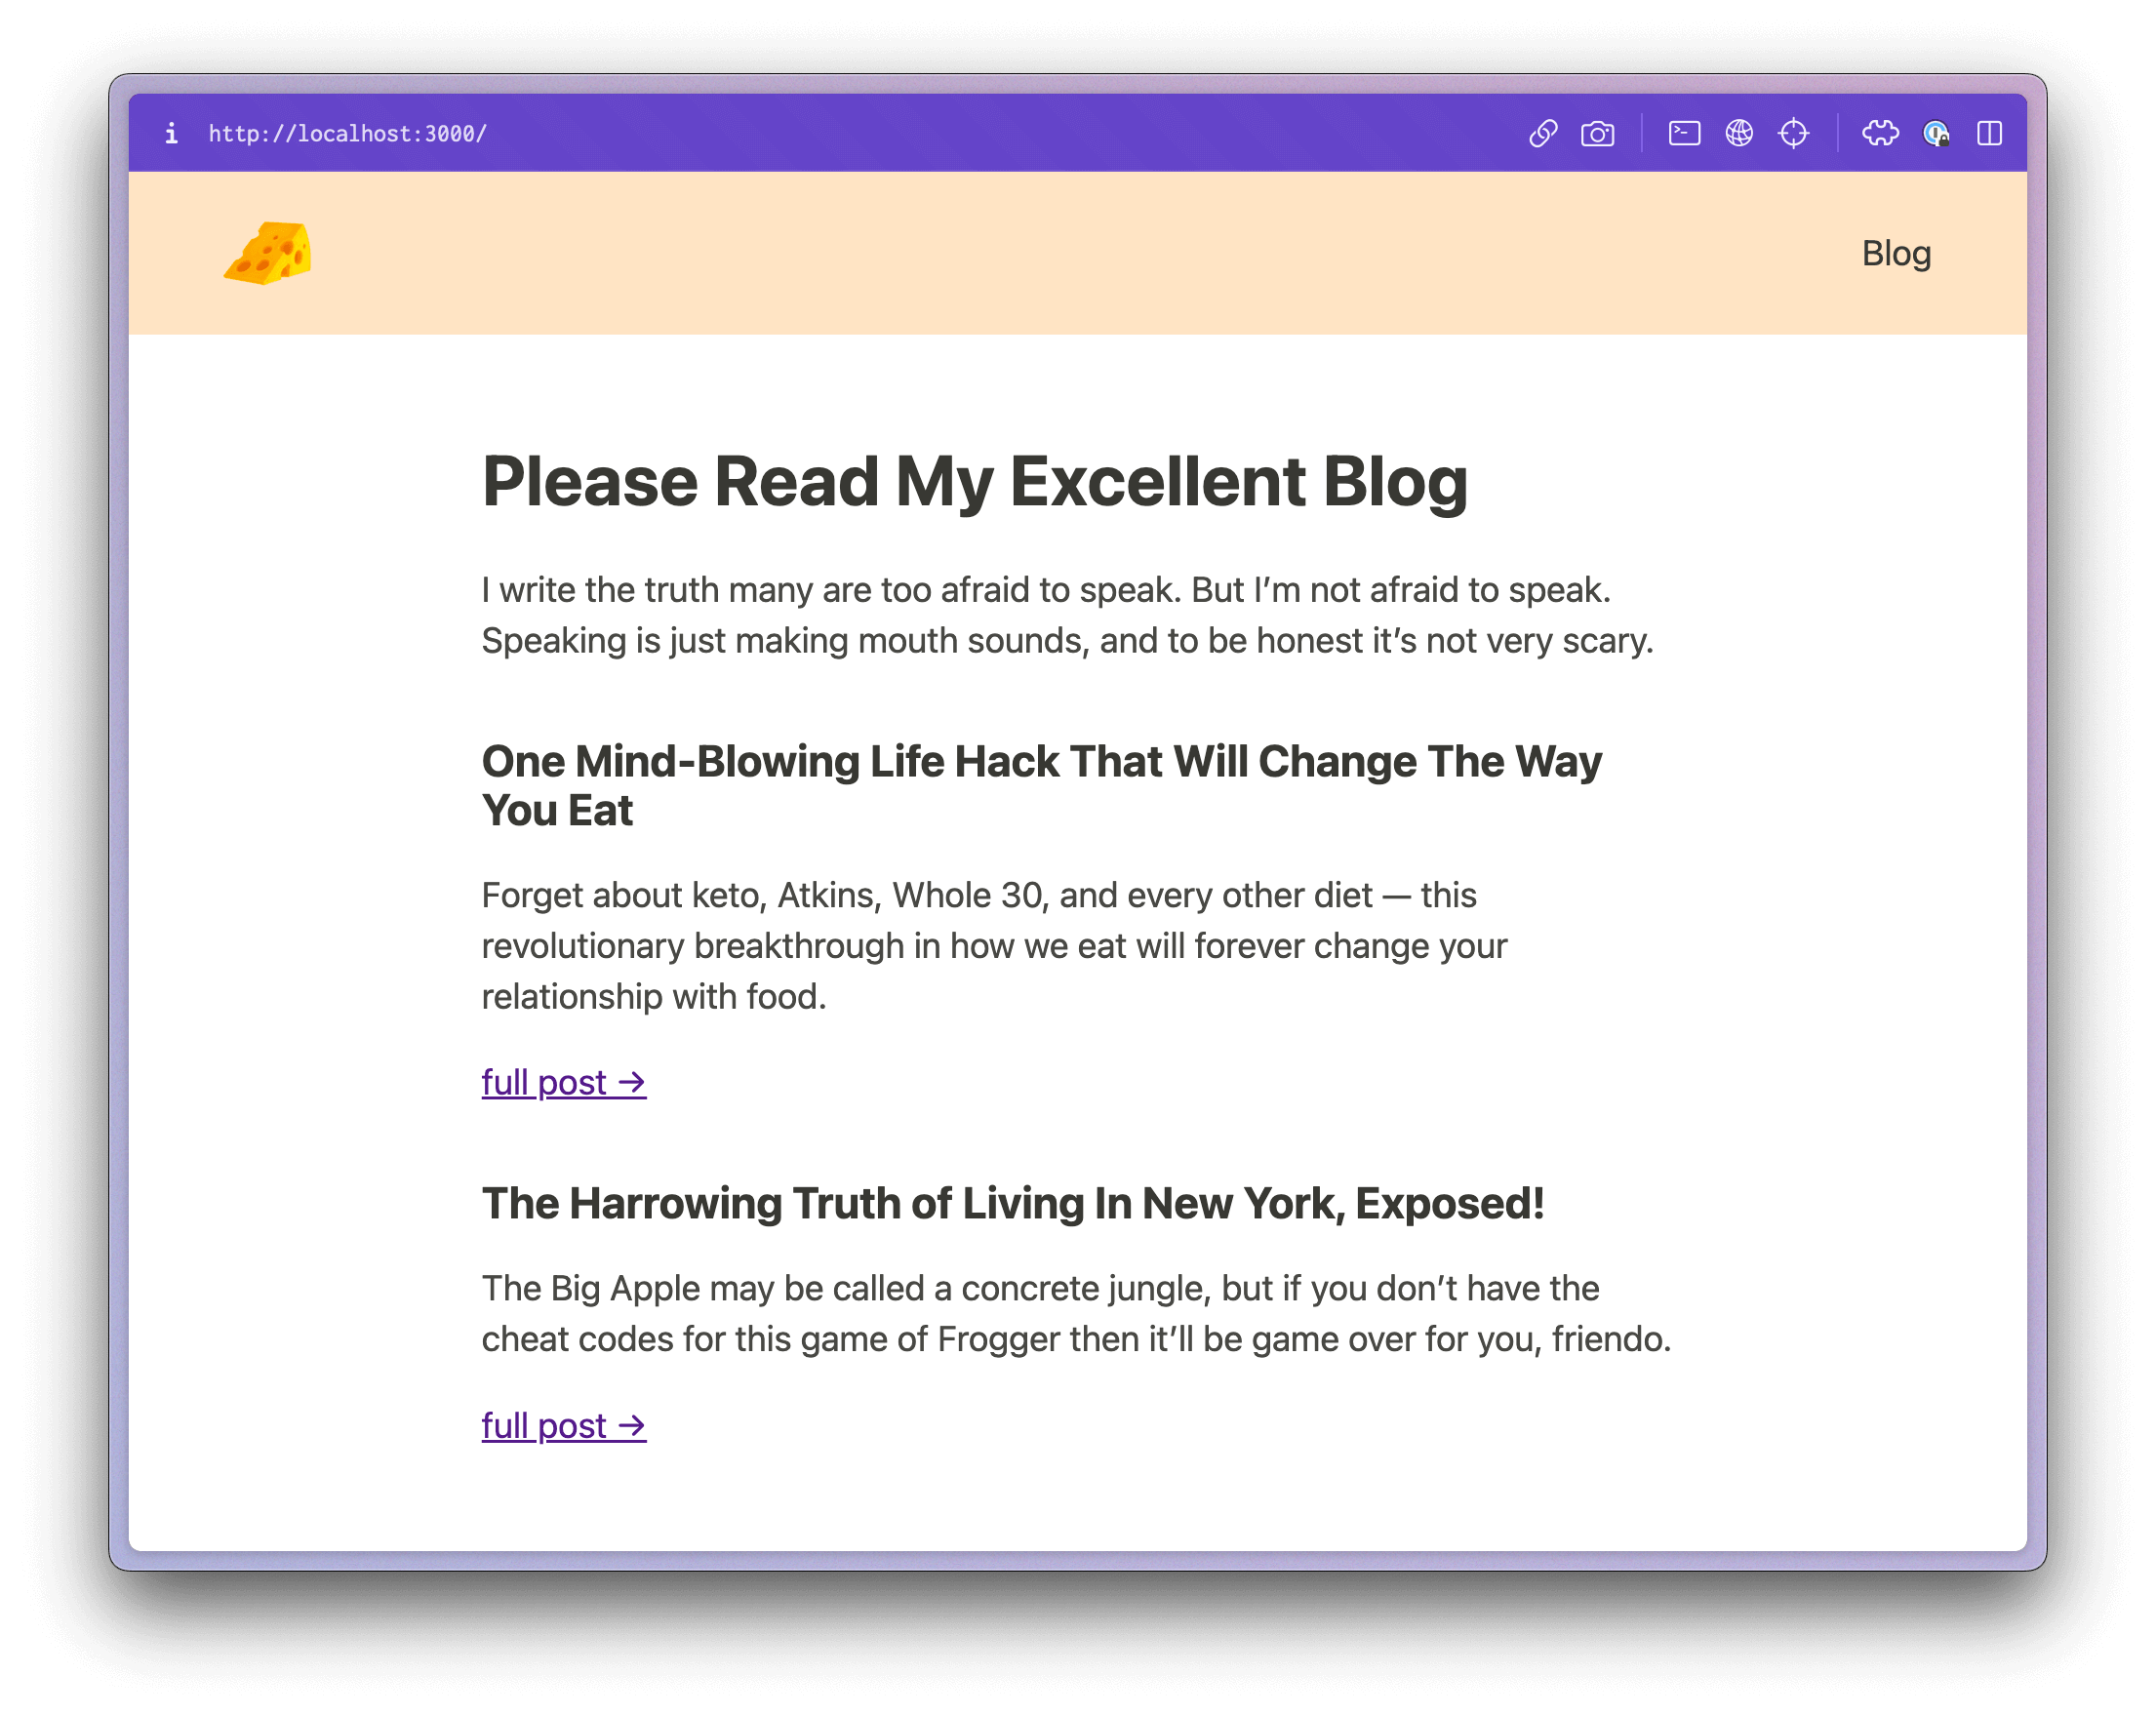
<Layout> <h1>Please Read My Excellent Blog</h1> <p> I write the truth many are too afraid to speak. But I’m not afraid to speak. Speaking is just making mouth sounds, and to be honest it’s not very scary. </p></Layout>
<style> article { margin-top: 2rem; }
h2 { font-size: 1.25rem; }
h2 a { color: inherit; text-decoration: none; }
h2 a:focus, h2 a:hover { text-decoration: underline; }</style>Run npm run dev to see the updated site using the layout:
Step 3: Define a content collection schema
Create a new directory at src/content/ — this is both where our content collections are defined and where the content of our blog posts will live.
Create a config file at src/content/config.ts:
import { z, defineCollection } from 'astro:content';
export const collections = {};Decide what fields you want in your blog metadata
For our blog, we want the following metadata to be supplied:
- Draft status — we don’t want to show work-in-progress posts on the live site
- Publish date
- Title
- Category — each post needs to have exactly one category, and we only want to allow two categories: “food” and “wisdom”
- Tags — posts can optionally add tags for grouping posts together
- Sharing details — for social sharing cards, search results, and other external services, each post can specify custom details:
- Image
- Title
- Description
In a standard Markdown blog, this is a lot of metadata and we’d almost certainly forget things, add extra stuff, or otherwise make a mess of our frontmatter. That’s what Astro’s content collections are here to help us solve: we can now be strict about what frontmatter is allowed and required for each post and provide helpful error messages if things aren’t set up properly!
To do that, we’ll use the defineCollection helper and Zod, a schema validation library that’s included as z for convenience.
In src/content/config.ts, define your blog schema:
import { z, defineCollection } from 'astro:content';
export const collections = {  blog: defineCollection({    schema: z.object({      draft: z.boolean().default(false),      date: z.date().transform((str) => new Date(str)),      title: z.string(),      category: z.enum(['food', 'wisdom']),      tags: z.array(z.string()).optional(),      share: z        .object({          image: z.string().url().optional(),          title: z.string(),          description: z.string(),        })        .strict(),    }),  }),};
Zod provides a clear API for defining how our frontmatter should look.
For the most part, Zod works by defining the property of the schema and using one of Zod’s types as the value. For example, title: z.string() lets the schema know that a title must be set and it must be a string.
For more specialized use cases, we can add defaults and transforms, as well as marking things as optional. This is done using schema methods.
For example, the draft field can default to false so that the field can be omitted on publishable posts. We specify that by chaining .default(false) onto the property definition.
The date field will be used as a JavaScript Date object, so we can use the .transform() helper to convert the string representation of the date in frontmatter into a Date object for use in our code.
The share object uses .strict() to ensure that no additional fields are added to it.
Step 4: Show a list of blog posts on the blog home page
With the definitions in place, we can start using the collection to display blog posts on our site! Update src/pages/index.astro to pull in our blog collection and display it on the home page:
---import { getCollection } from 'astro:content';import Layout from '../layouts/default.astro';
const posts = await getCollection('blog', (post) => { return import.meta.env.MODE !== 'production' || post.data.draft === false;});---
<Layout> <h1>Please Read My Excellent Blog</h1> <p> I write the truth many are too afraid to speak. But I’m not afraid to speak. Speaking is just making mouth sounds, and to be honest it’s not very scary. </p>
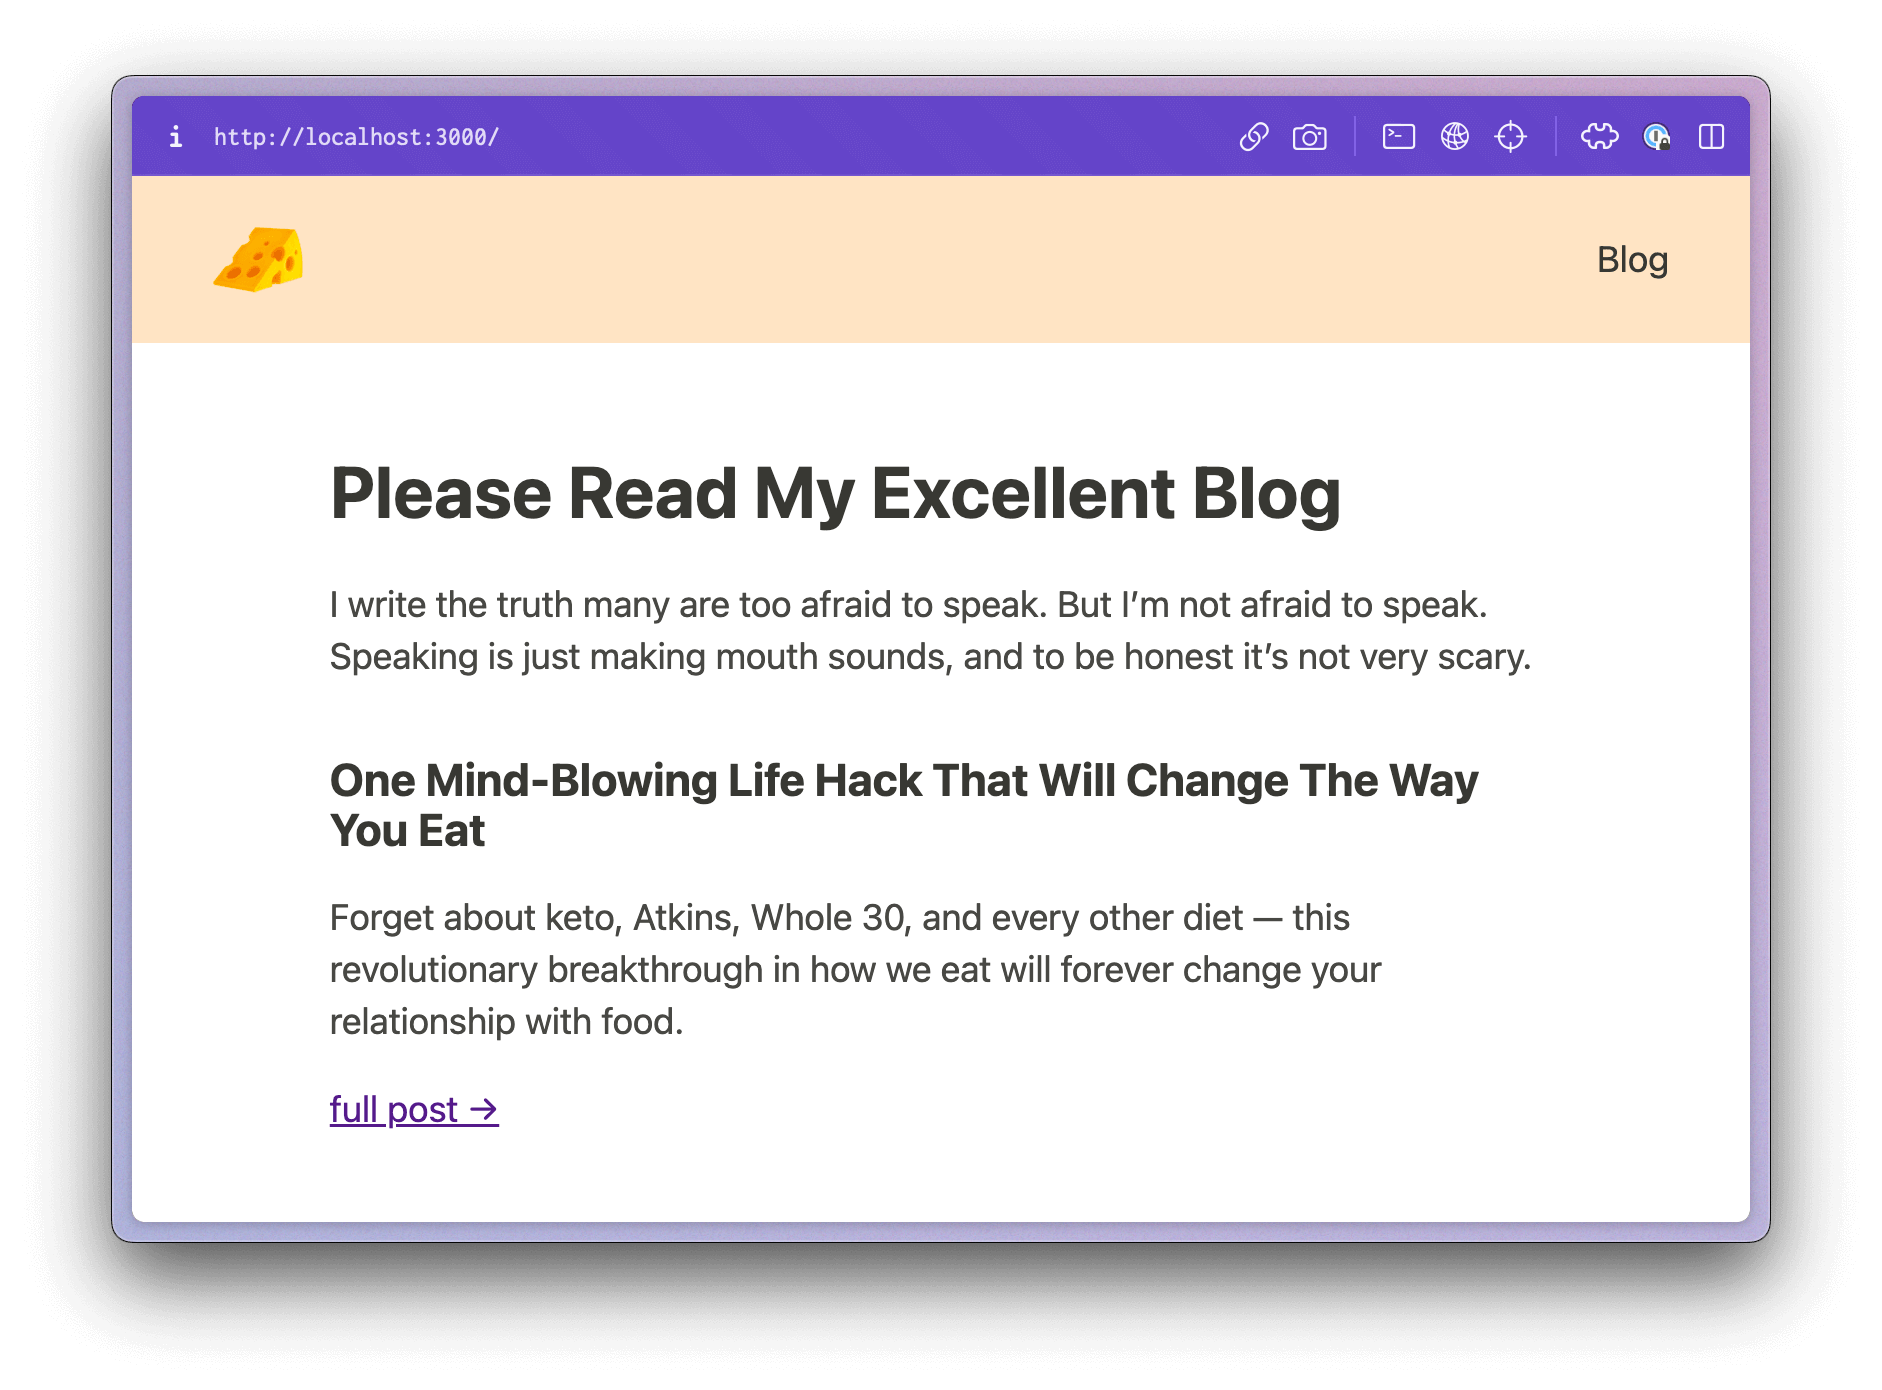
{ posts.map((post) => { return ( <article> <h2> <a href={`/blog/${post.slug}`}>{post.data.share.title}</a> </h2> <p>{post.data.share.description}</p> <p> <a href={`/blog/${post.slug}`}>full post →</a> </p> </article> ); }) }</Layout>
<style> /* styles are unchanged */</style>The getCollection helper allows us to pull in everything in the blog collection, which we then filter to show posts where draft is true in development mode, but not in production.
In the page body, we map over the loaded posts and add markup to display a preview of each post.
If we save this, nothing changes in the browser. This is a good thing: we haven’t added any blog posts yet! Empty collections don’t throw errors. We could add logic to check for an empty posts array and show an empty state, but in our case we’re going to publish a couple blogs right away, so we won’t need it.
Step 5: Create your first blog posts
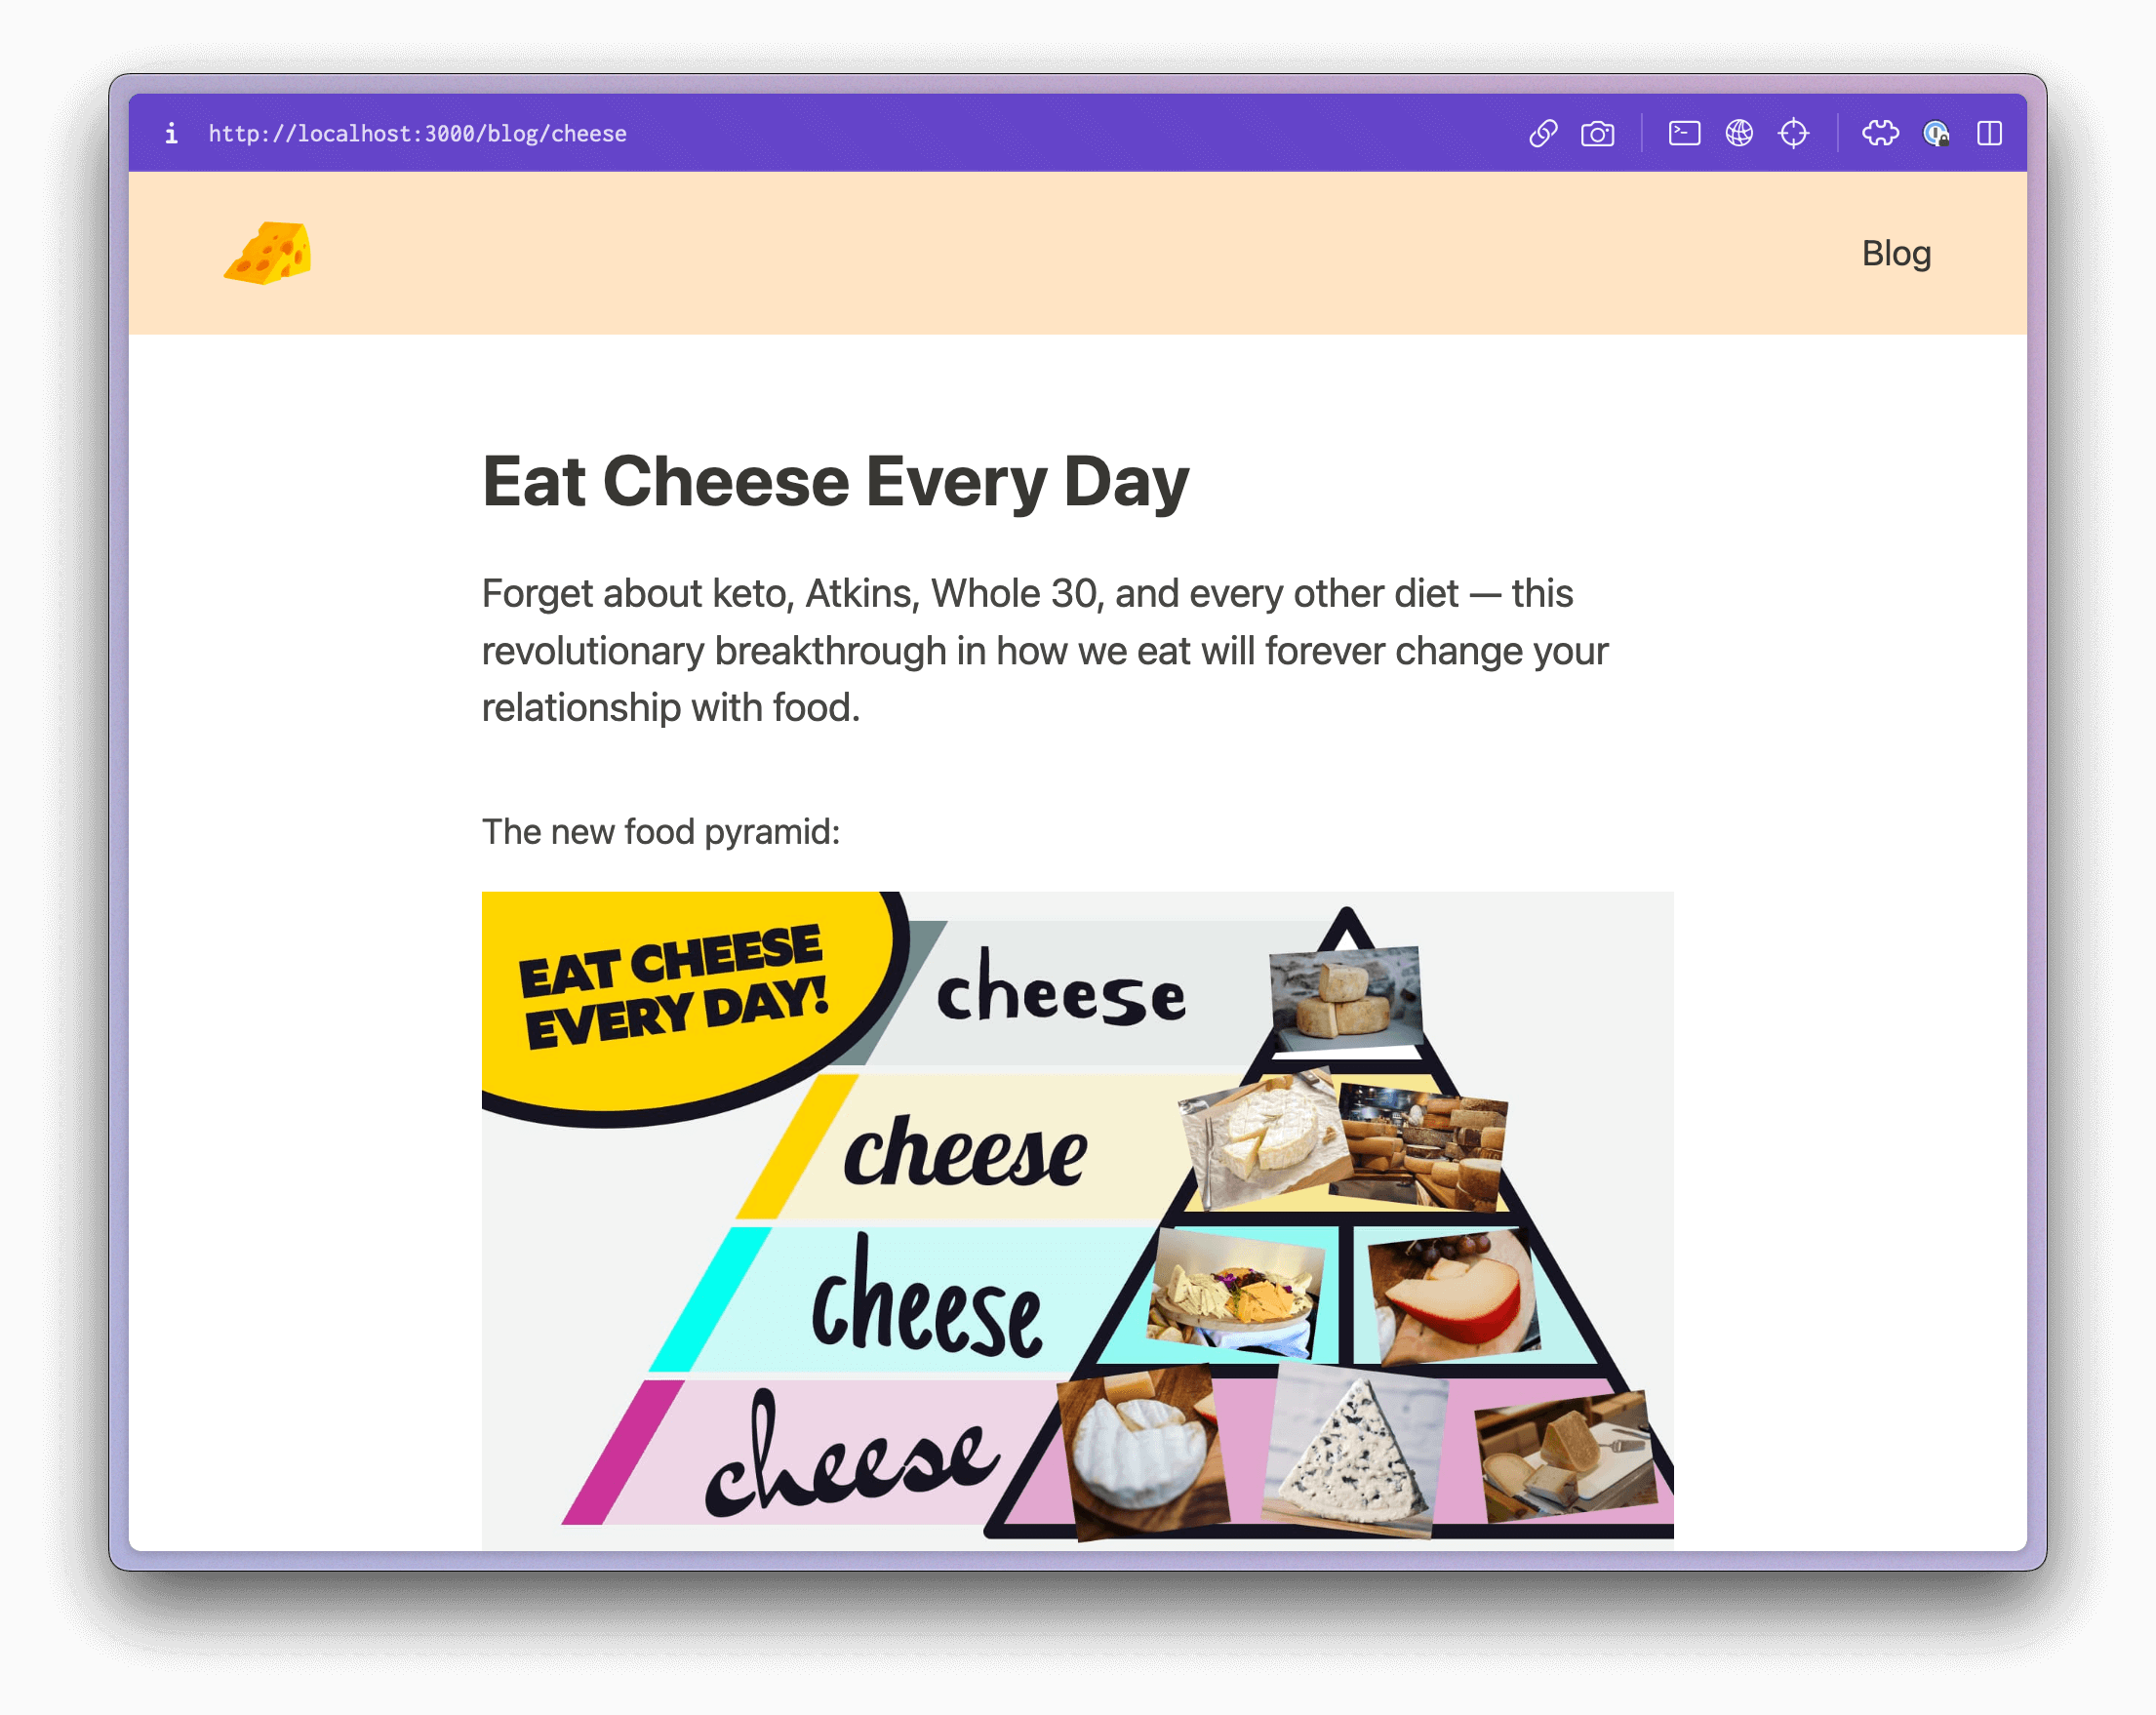
Create your first blog post by adding the following to a new file at src/content/blog/cheese.md:
---draft: true
date: 2023-01-14title: Eat Cheese Every Day
category: foodtags: - gouda - cheddar - brie
share: image: https://res.cloudinary.com/jlengstorf/image/upload/v1674096555/blog/eat-cheese-every-day.jpg title: One Mind-Blowing Life Hack That Will Change The Way You Eat description: > Forget about keto, Atkins, Whole 30, and every other diet — this revolutionary breakthrough in how we eat will forever change your relationship with food.---
The new food pyramid:
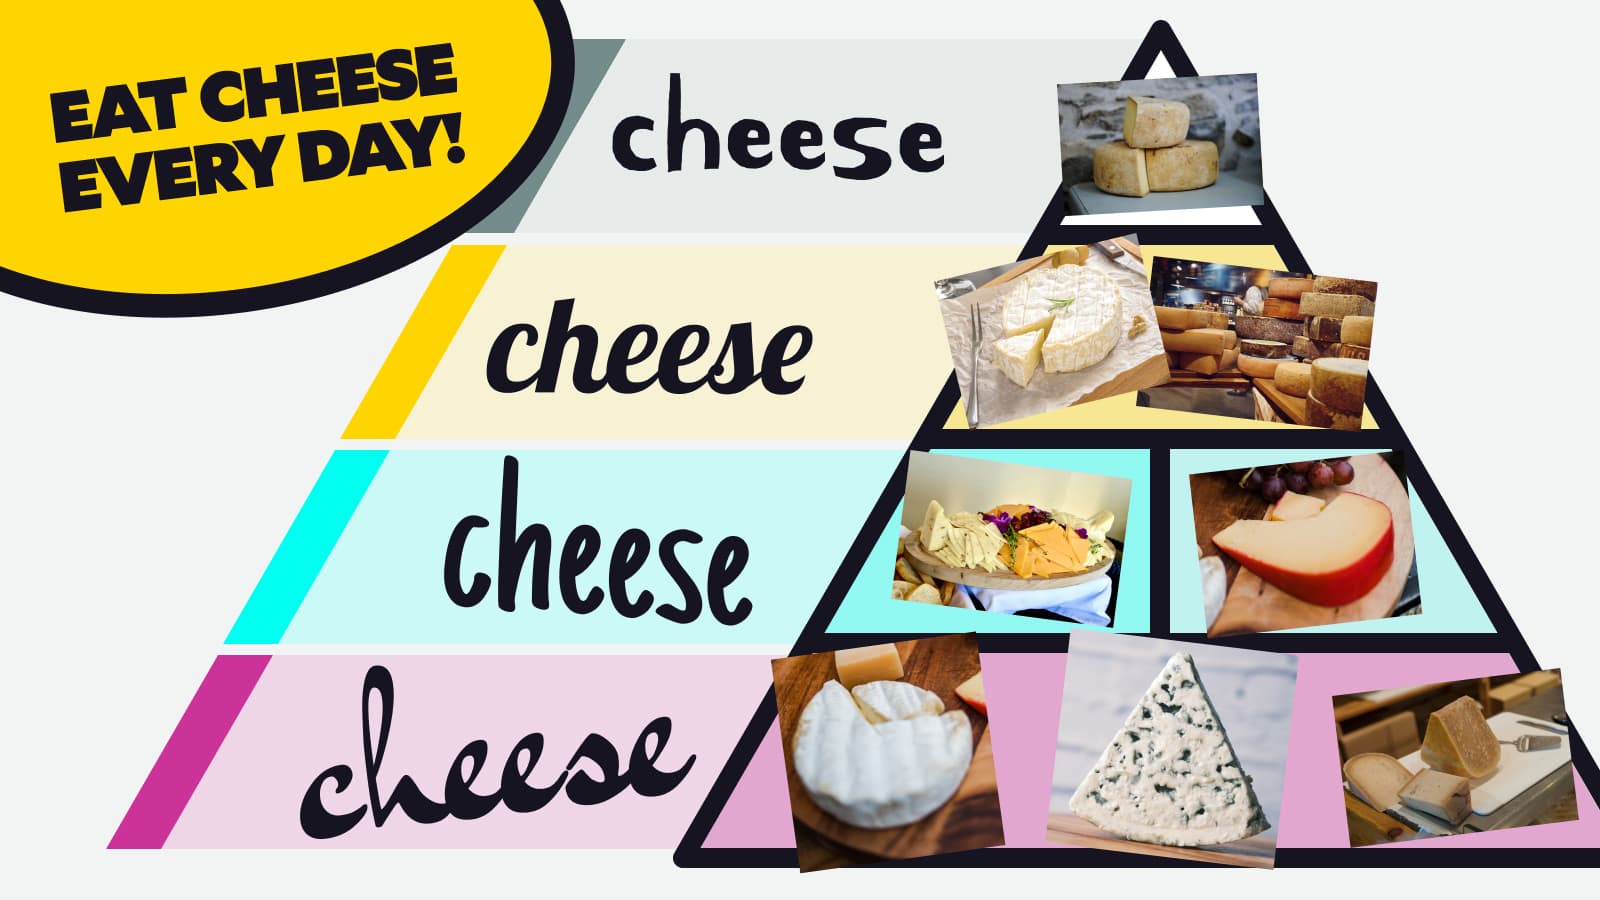
Eat cheese every day and your whole life will change.The home page will now show the blog preview:
Create a second post by adding the following to a new file at src/content/blog/good-advice.md:
---draft: false
date: 2023-01-17title: The Yellow Ones Don’t Stop
tags: - survival
share: image: https://res.cloudinary.com/jlengstorf/image/upload/v1674108800/blog/yellow-ones-dont-stop.jpg title: The Harrowing Truth of Living In New York, Exposed! description: > The Big Apple may be called a concrete jungle, but if you don’t have the cheat codes for this game of Frogger then it’ll be game over for you, friendo.---
Learn to spot New York’s apex predator.

They’re everywhere. They’re looking for you. And they’re _very_ angry.After saving, the homepage is now showing an error!
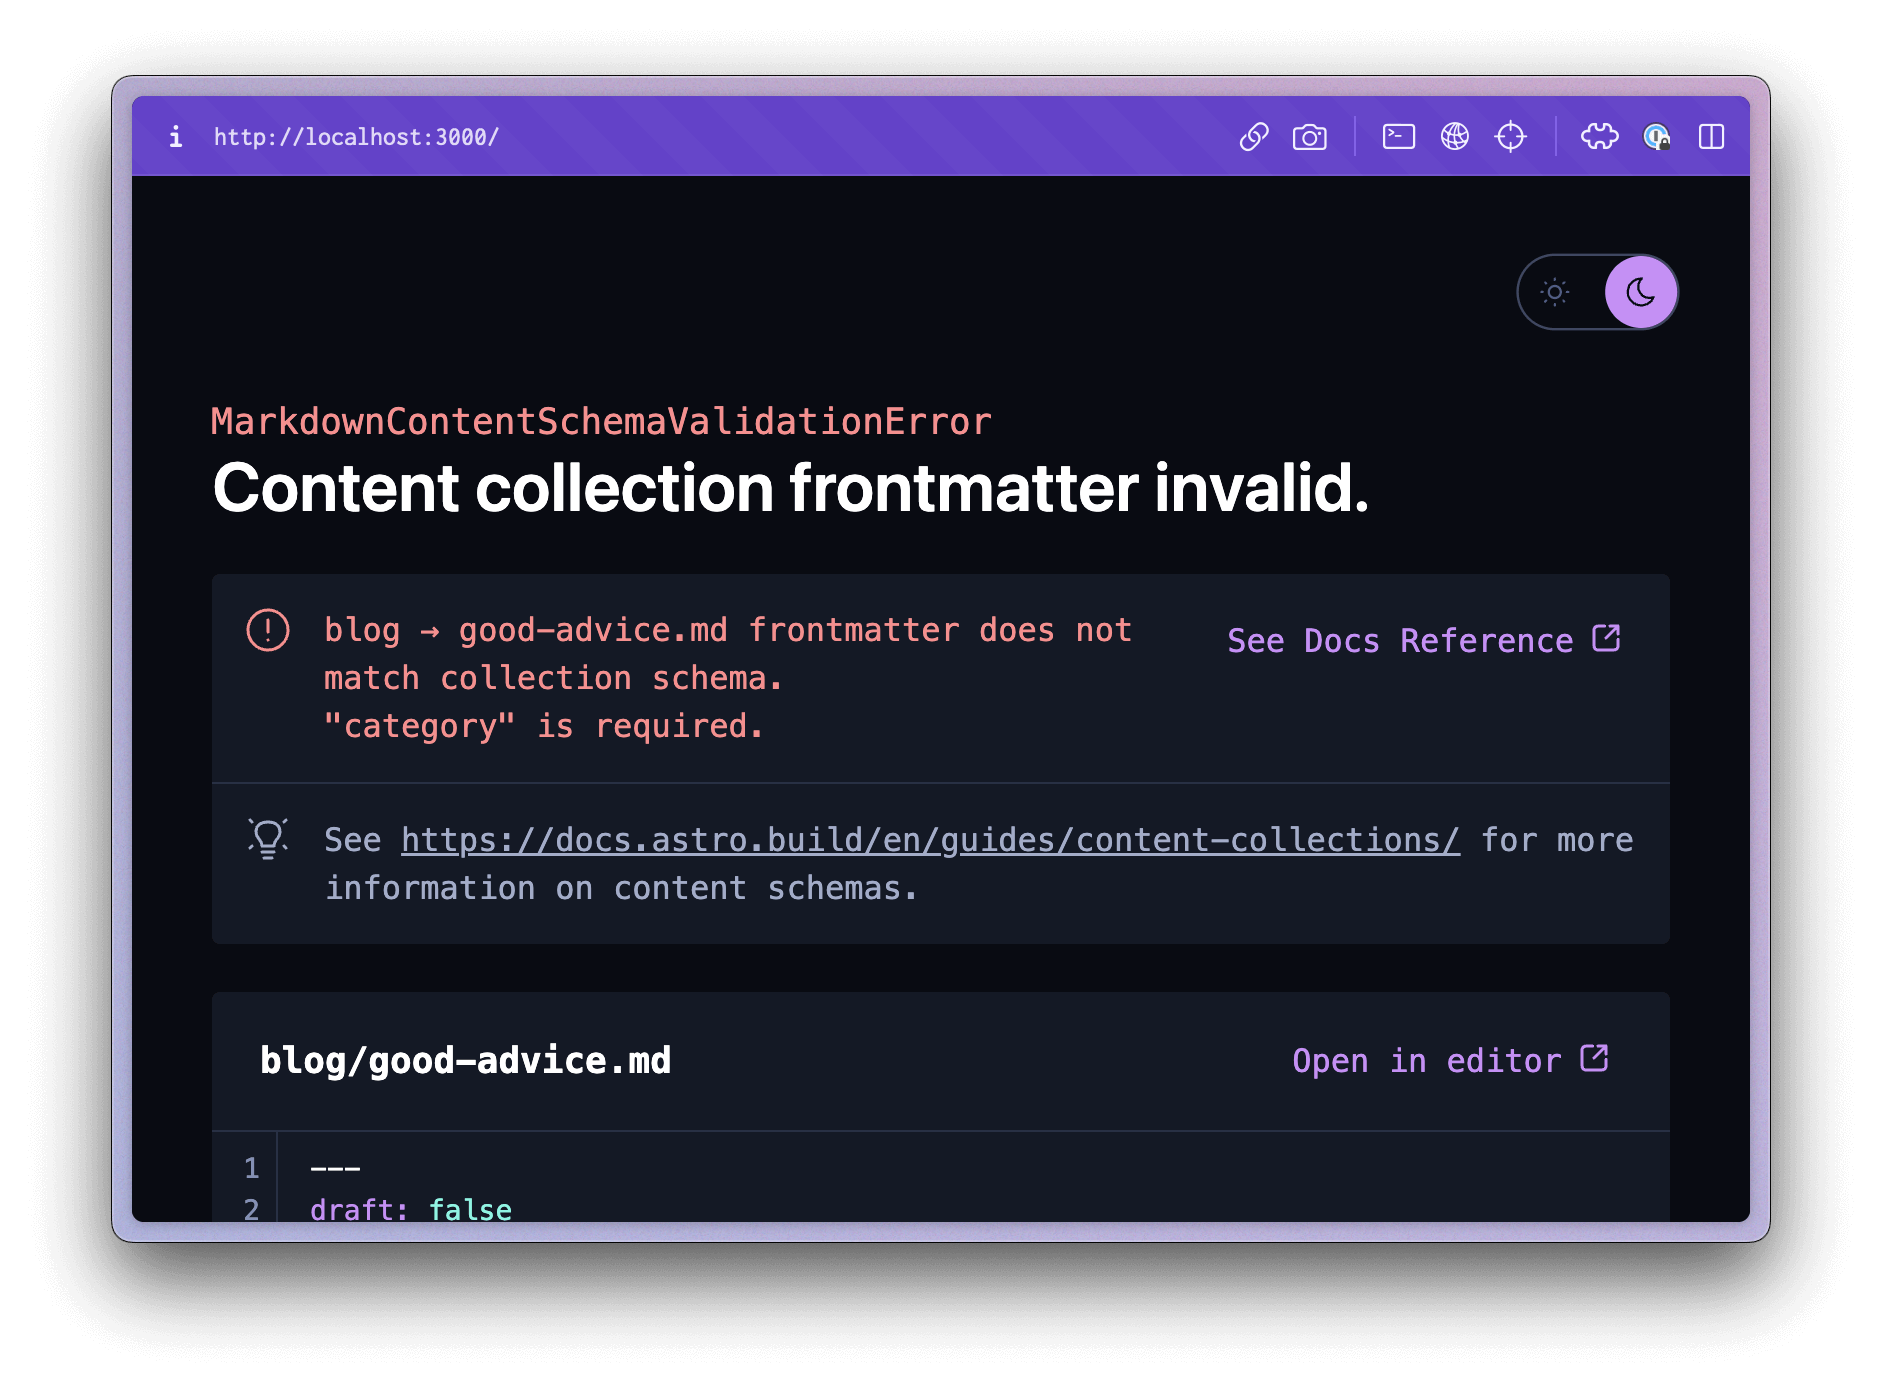
The error message says:
blog → good-advice.md frontmatter does not match collection schema."category" is required.What a great error message! We forgot to add a category field to the frontmatter, and since that one is required the schema validation fails.
This is ideal, because without the typesafety we might not notice this until our build failed, or — worse — until a user let us know that our site is broken.
Edit src/content/blog/good-advice.md to include category: wisdom in the frontmatter, then save and check out the home page again. Everything works as expected!
Right now, though, if we click to read one of these posts we’ll get a 404. In the next section we’ll create individual blog pages from the collection.
Step 6: Create individual blog pages from an Astro content collection
Since we don’t want to create an individual page every time we write a blog post, we’ll use a dynamic route for our blog posts.
Create a new file at src/pages/blog/[slug].astro and add the following:
---import { CollectionEntry, getCollection } from 'astro:content';import Layout from '../../layouts/default.astro';
export async function getStaticPaths() { const posts = await getCollection('blog');
return posts.map((post) => { return { params: { slug: post.slug, }, props: { post, }, }; });}
interface Props { post: CollectionEntry<'blog'>;}
const { post } = Astro.props;const { Content } = await post.render();---
<Layout> <header> <h1>{post.data.title}</h1> <p>{post.data.share.description}</p> </header>
<Content />
<footer> <ul class="tags"> {post.data.tags?.map((tag) => <li>{tag}</li>)} </ul> <p> <a href="/">← back to all posts</a> </p> </footer></Layout>
<style> header { margin-bottom: 2rem; }
header p { font-size: 1.125rem; }
footer { border-top: 1px solid #d8d8d3; margin-top: 2rem; }
.tags { color: #787873; display: flex; gap: 1rem; list-style: none; margin-bottom: 2rem; padding: 0; }
.tags li::before { content: '#'; }</style>Using getCollection again, we load all the blog posts, then use getStaticPaths let Astro know the slug and post data for each of our blog posts.
Then, we grab the post out of the props and define our markup in the Astro page body.
To get autocomplete, we define an interface for Props that uses the CollectionEntry<'blog'> type for our post. This is incredibly handy because it means we can press control + space to pull up a list of all the available properties on our post object.
Loading the Markdown content of the post is done by calling await post.render(), which returns an object including a Content component that we can place wherever we want the post body to be displayed.
Save this, click on one of the blog posts, and you’ve got a fully functional, fully typesafe Markdown blog running using Astro content collections!
Resources and next steps
Congrats on building your first content collection-powered Astro site!
To see this in action and review the source code, check the following links:
- Repo: https://github.com/learnwithjason/astro-content-collections
- Demo: https://astro-content-collections.netlify.app
Additional resources: