Add SSO to a SaaS app using WorkOS & Okta in under 10 minutes
Many devs (like me!) are intimidated by enterprise features like single sign-on (SSO), but the tools are WAY better now. You can add it to SaaS apps fast!
The scenario: enterprise-sized deals require enterprise-level auth support
Your team has been growing your SaaS offering quickly, and your first big customer is ready to sign a six-figure annual contract, but they’ve got Okta as an identity provider (IdP) and they’ll only finalize the deal if your app will let their team use single sign-on (SSO).
For any developers who have implemented a SAML 2.0 workflow or other federated identity management manually in the past, the thought of adding SSO to a SaaS app might cause you to break into a cold sweat. I can remember spending days struggling to get it set up for a client project years ago — it was not a great experience.
But things have improved significantly in this space, and tools like WorkOS make adding SSO to a Node app a task that you can fit in before lunch. In this tutorial, we’ll add SSO powered by WorkOS, using Okta as an IdP.
Create a WorkOS organization and connect it to Okta as an identity provider
First, register or log in at https://workos.com.
Add a redirect URI
As part of the SSO flow, the user will be redirected to a URI that can exchange a temporary code for an auth token. For security, these redirect URIs need to be explicitly added to WorkOS.
In your WorkOS dashboard, click configuration in the left-hand nav, then add http://localhost:3000/auth/sso/redirect as a redirect URI for local dev. You’ll need to come back to this page later to add more URIs for your other environments, such as staging and production.
Create an organization in WorkOS
Once logged in, click “Organizations” in the left-hand sidebar, then click the button to create a new one. Give your organization a name and add the domain(s) associated with users in your IdP.

On the organization home page, look for “Single Sign-On” under the Features section. Click “Configure”.
Choose Okta from the dropdown and give the connection a name (I chose “Okta”).
On the next screen you’ll see several URLs and configuration options. Keep this page open, then continue with the next section.
Create an application in Okta
Sign up or register for Okta. We’ll be using Okta as our Identity Provider (IdP), so our users’ data will be stored here, and we’ll use an app integration to allow WorkOS to manage the SSO flow.
In your account, navigate to Applications using the top-left menu.
Create a new app integration and choose SAML 2.0 as the sign-in method. Give the app a name, then click next.
Under SAML settings, add the ACS URL from WorkOS as the Single sign-on URL in Okta.
Next, add the SP Entity ID from WorkOS as the Audience URI in Okta.

Under attribute statements, map the four bits of user data we want for this app:
- id => user.id
- email => user.email
- firstName => user.firstName
- lastName => user.lastName

Click next.
On the next screen, choose “I’m an Okta customer adding an internal app” and click Finish.
The next screen will be your Okta app settings, and under “SAML 2.0” you’ll see the “Metadata URL” — copy this, then head to your WorkOS organization. Under the URLs you copied before is a section called “Identity Provider Configuration”. Click “Edit Configuration”.
Paste in the metadata URL and save. Your connection will now show active!
Assign users to your app integration
In order to allow your users to log in via WorkOS SSO, you’ll need to assign the app to them in Okta. This is one of the major reasons companies choose SSO: it allows them to manage user access to all apps in a single location.
To do this, go to the Directory in the menu, then choose Groups. Select the Applications tab, then click “Assign applications” and choose the WorkOS SSO app you just created.
Set up your dev environment
Our starting point is a Node.js app built with Fastify, which is very similar to Express. There’s a home page that’s public, and a dashboard that requires the user to be logged in.
Clone the start branch of the repo to get started:
# clone the start branchgh repo clone learnwithjason/workos-six-figure-saas-contracts -- -b start
# move into the directorycd workos-six-figure-saas-contracts/
# install dependenciesnpm i
Add environment variables
Make a copy of .env.EXAMPLE and rename it to .env. Inside, add the following values.
SESSION_SECRET— a random value (I used a UUID generator to get one) used by the Fastify session pluginREDIRECT_URI— this is pre-filled for development. If you change this, make sure it matches the value set as a redirect URI in your WorkOS organizationWORKOS_API_KEY— click “API Keys” in the left-hand nav of your WorkOS account and copy the secret keyWORKOS_CLIENT_ID— the client ID is displayed at the top of the API Keys screen in your WorkOS accountWORKOS_ORG_ID— head to your organization in the WorkOS dashboard and the organization ID will be displayed at the top of the org home page
Add a route to handle SSO login
In src/app.ts, make the following changes:
import "dotenv/config";
import type { FastifyPluginAsync } from "fastify";import type { StaticRequest } from "./types.js";import * as path from "path";import { fileURLToPath } from "url";import ejs from "ejs";import fastifyView from "@fastify/view";import fastifyStatic from "@fastify/static"; import { WorkOS } from "@workos-inc/node";
const __filename = fileURLToPath(import.meta.url);const __dirname = path.dirname(__filename);const publicDirRoot = path.join(__dirname, "..", "public");
 const workos = new WorkOS(process.env.WORKOS_API_KEY);
const app: FastifyPluginAsync = async (fastify, _opts) => {  fastify.register(fastifyStatic, { root: publicDirRoot });  fastify.register(fastifyView, { engine: { ejs } });
   // WorkOS SSO flow   fastify.get("/auth/sso", async (_req, res) => {     const authorizationUrl = workos.sso.getAuthorizationURL({       clientID: process.env.WORKOS_CLIENT_ID!,       organization: process.env.WORKOS_ORG_ID,       redirectURI: process.env.REDIRECT_URI!,     });
     res.redirect(authorizationUrl);   });
  // App views  fastify.get("/", async (req, reply) => {    return reply.view("src/templates/index.ejs", {      user: undefined,    });  });
  fastify.get("/dashboard", async (req, reply) => {    // TODO only show the dashboard if the user is logged in
    return reply.view("src/templates/dashboard.ejs", {      user: { first_name: "Guest" },    });  });
  // all other requests fall through to static files  fastify.get<StaticRequest>("/:filename", async function (req, reply) {    const { filename } = req.params;
    return reply.sendFile(filename);  });};
export default app;
Using the @workos-inc/node package and our API key, this code registers a new route at /auth/sso, which calls the getAuthorizationUrl method. Using our client ID, organization ID, and redirect URI, this method generates a URL that will ask the user to log into their IdP (in this example, Okta).
Once the user has authenticated with their IdP, they’ll be redirected to the redirectURI specified here.
Handle calls to the redirect URI
When a user has successfully authenticated with their IdP, they’ll be sent to the redirect URI with a code that can be exchanged for an auth token.
To handle this exchange, add the redirect URI route in src/app.ts:
import "dotenv/config";
import type { FastifyPluginAsync } from "fastify"; import type { StaticRequest } from "./types.js"; import type { StaticRequest, RedirectRequest } from "./types.js";import * as path from "path";import { fileURLToPath } from "url";import ejs from "ejs";import fastifyView from "@fastify/view";import fastifyStatic from "@fastify/static";import { WorkOS } from "@workos-inc/node";
const __filename = fileURLToPath(import.meta.url);const __dirname = path.dirname(__filename);const publicDirRoot = path.join(__dirname, "..", "public");
const workos = new WorkOS(process.env.WORKOS_API_KEY);
const app: FastifyPluginAsync = async (fastify, _opts) => {  fastify.register(fastifyStatic, { root: publicDirRoot });  fastify.register(fastifyView, { engine: { ejs } });
  // WorkOS SSO flow  fastify.get("/auth/sso", async (_req, res) => {    const authorizationUrl = workos.sso.getAuthorizationURL({      clientID: process.env.WORKOS_CLIENT_ID!,      organization: process.env.WORKOS_ORG_ID,      redirectURI: process.env.REDIRECT_URI!,    });
    res.redirect(authorizationUrl);  });
   fastify.get<RedirectRequest>("/auth/sso/redirect", async (req, res) => {     const { code } = req.query;     const { profile } = await workos.sso.getProfileAndToken({       code,       clientID: process.env.WORKOS_CLIENT_ID!,     });
     // TODO store the user profile in the session     console.log({ profile });
     return res.redirect("/dashboard");   });
  // App views  fastify.get("/", async (req, reply) => {    return reply.view("src/templates/index.ejs", {      user: undefined,    });  });
  fastify.get("/dashboard", async (req, reply) => {    // TODO only show the dashboard if the user is logged in
    return reply.view("src/templates/dashboard.ejs", {      user: { first_name: "Guest" },    });  });
  // all other requests fall through to static files  fastify.get<StaticRequest>("/:filename", async function (req, reply) {    const { filename } = req.params;
    return reply.sendFile(filename);  });};
export default app;
Save, then navigate to http://localhost:3000/auth/sso. You’ll be redirected to the Okta login. After signing in, you’ll end up on the app dashboard and your profile data will be logged in the console.
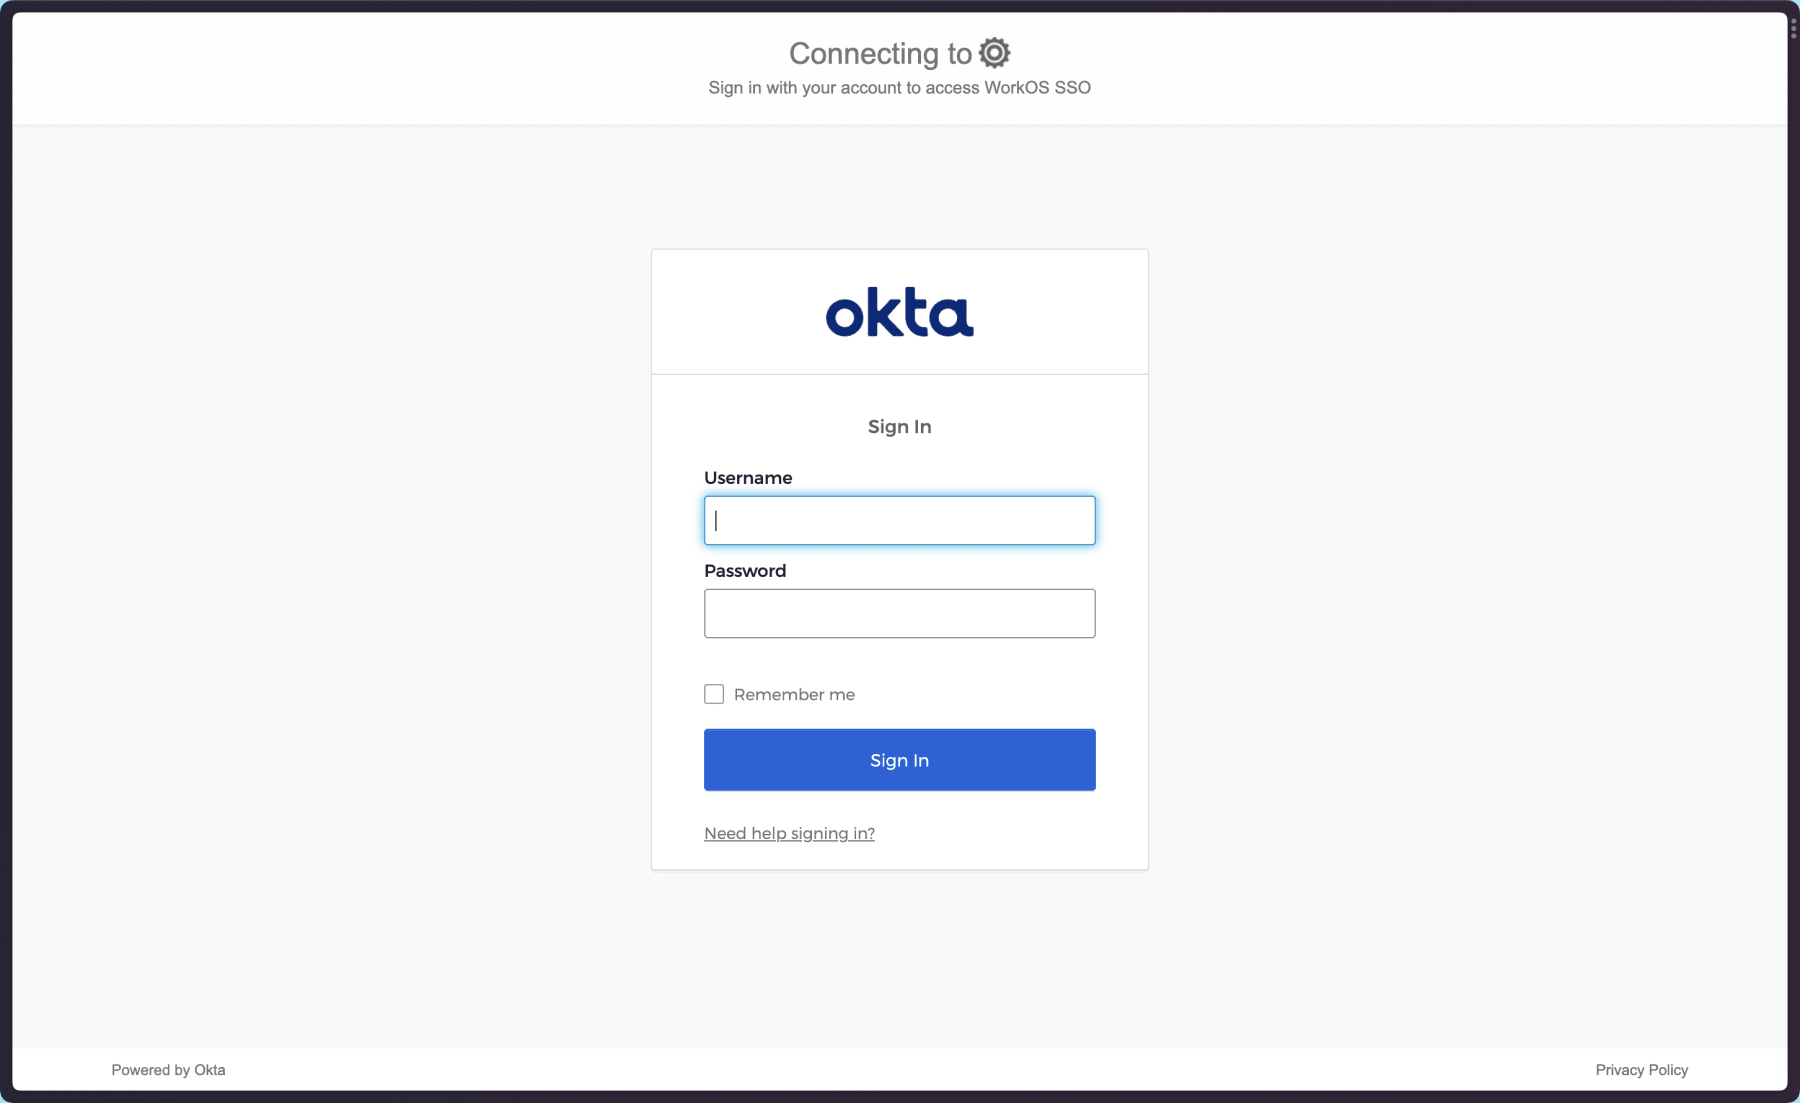
Log in with your Okta credentials and you’ll land on http://localhost:3000/dashboard. This means the login flow is working, but our app isn’t checking for a logged in user yet or using that to restrict access to private pages.
Store user profile data in a session
To let the app display user data and prevent the user from needing to log in on every page navigation, let’s add the user’s profile data to a session cookie. In this app, we’ll use the @fastify/session package, but the approach of storing the user data in a cookie will work in just about every framework.
To add support for sessions, bring in the required Fastify plugins in src/app.ts and register them.
import "dotenv/config";
import type { FastifyPluginAsync } from "fastify";import type { StaticRequest, RedirectRequest } from "./types.js";import * as path from "path";import { fileURLToPath } from "url";import ejs from "ejs";import fastifyView from "@fastify/view";import fastifyStatic from "@fastify/static"; import fastifyCookie from "@fastify/cookie"; import fastifySession from "@fastify/session";import { WorkOS } from "@workos-inc/node";
const __filename = fileURLToPath(import.meta.url);const __dirname = path.dirname(__filename);const publicDirRoot = path.join(__dirname, "..", "public");
const workos = new WorkOS(process.env.WORKOS_API_KEY);
const app: FastifyPluginAsync = async (fastify, _opts) => {  fastify.register(fastifyStatic, { root: publicDirRoot });  fastify.register(fastifyView, { engine: { ejs } });   fastify.register(fastifyCookie);   fastify.register(fastifySession, {     secret: process.env.SESSION_SECRET!,     cookie:       process.env.NODE_ENV === "production"         ? {             path: "/",             maxAge: 86400,             httpOnly: true,             secure: true,             sameSite: true,           }         : { secure: false },   });
  // WorkOS SSO flow  fastify.get("/auth/sso", async (_req, res) => {    const authorizationUrl = workos.sso.getAuthorizationURL({      clientID: process.env.WORKOS_CLIENT_ID!,      organization: process.env.WORKOS_ORG_ID,      redirectURI: process.env.REDIRECT_URI!,    });
    res.redirect(authorizationUrl);  });
  fastify.get<RedirectRequest>("/auth/sso/redirect", async (req, res) => {    const { code } = req.query;    const { profile } = await workos.sso.getProfileAndToken({      code,      clientID: process.env.WORKOS_CLIENT_ID!,    });
     // TODO store the user profile in the session     console.log({ profile });     req.session.user = {       id: profile.id,       first_name: profile.first_name,       last_name: profile.last_name,       email: profile.email,     };
    return res.redirect("/dashboard");  });
  // App views  fastify.get("/", async (req, reply) => {    return reply.view("src/templates/index.ejs", {       user: req.session.user,    });  });
  fastify.get("/dashboard", async (req, reply) => {    // TODO only show the dashboard if the user is logged in
    return reply.view("src/templates/dashboard.ejs", {      user: { first_name: "Guest" },    });  });
  // all other requests fall through to static files  fastify.get<StaticRequest>("/:filename", async function (req, reply) {    const { filename } = req.params;
    return reply.sendFile(filename);  });};
export default app;
The required plugins allow our app to store data in a session, and we use that to store the user profile in the redirect handler after a user successfully logs in with their IdP.
On the home route (/), we pass the user object from the session into the template, which will allow the app UI to be updated with logged in user data.

Only show the dashboard to logged in users
To use the SSO auth data to protect the authenticated area, make the following changes to the /dashboard route in src/app.ts:
fastify.get("/dashboard", async (req, reply) => {   // TODO only show the dashboard if the user is logged in   if (!req.session.user?.id) {     return reply.redirect("/auth/sso");   }
  return reply.view("src/templates/dashboard.ejs", {     user: { first_name: "Guest" },     user: req.session.user,  });});
Handle logout
Finally, to handle logout, all we need to do is destroy the session. Add a new route definition for /auth/sso/logout in src/app.ts to handle logging out:
fastify.get('/auth/logout', async (req, reply) => { req.session.destroy(); reply.redirect('/');});This will remove the user’s data from the session and send them back to the public home page. They’ll need to log in again to return to the dashboard.
Go land those big contracts!
Believe it or not, that’s it. Single sign on for enterprise customers used to be a nightmare, but the developer experience these days is actually pretty pleasant thanks to WorkOS.
So don’t let adding SAML 2.0 or other SSO solutions to your app be a blocker for your product to land larger customers. Happy building!